Weston Langford Railway Photography
Documenting railways and related infrastructure since 1960
Photos for September 1994
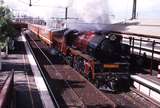
- 119446: North Melbourne 8117 9:55am Down Geelong Passenger R 766
- Date Taken: 24 September 1994
- Country: Australia, State/Region: Victoria.
- Link to high resolution image: /media/photos/119446.jpg
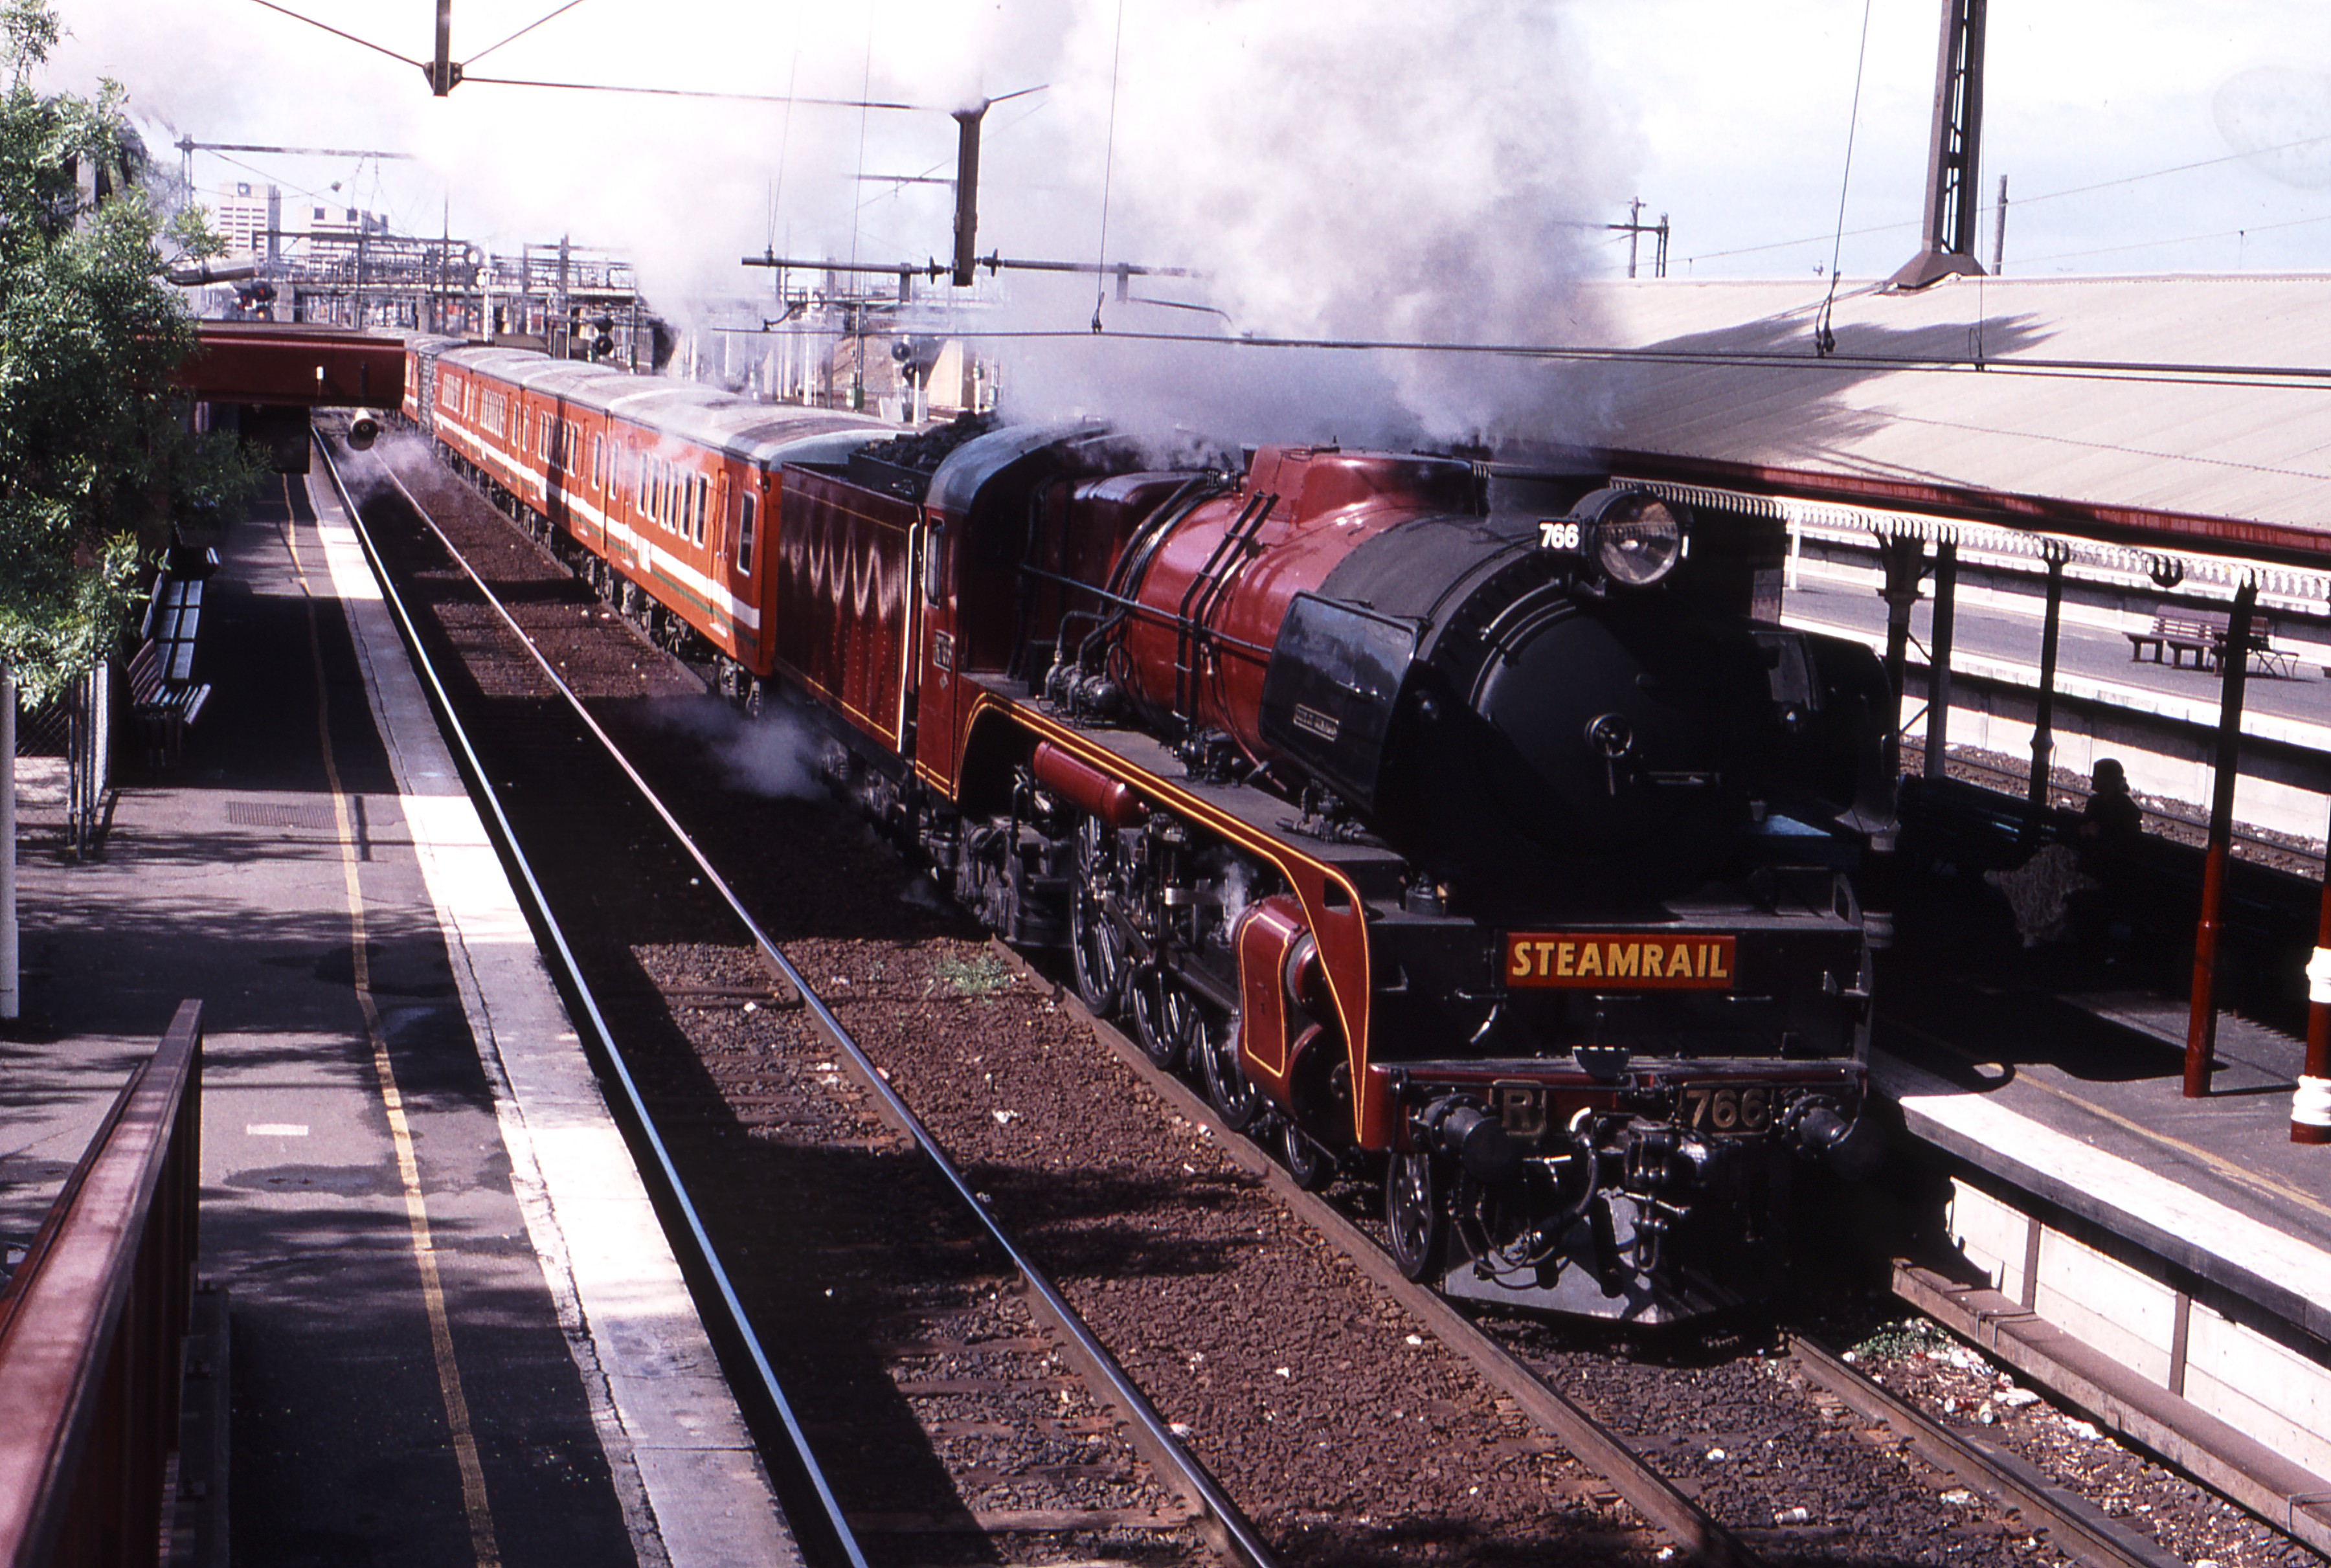
- 119447: Bunbury Street Tunnel Moreland Street Portal 9169 Adelaide Freight BL 29 S 306 S 310
- Date Taken: 24 September 1994
- Country: Australia, State/Region: Victoria.
- Link to high resolution image: /media/photos/119447.jpg
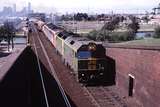
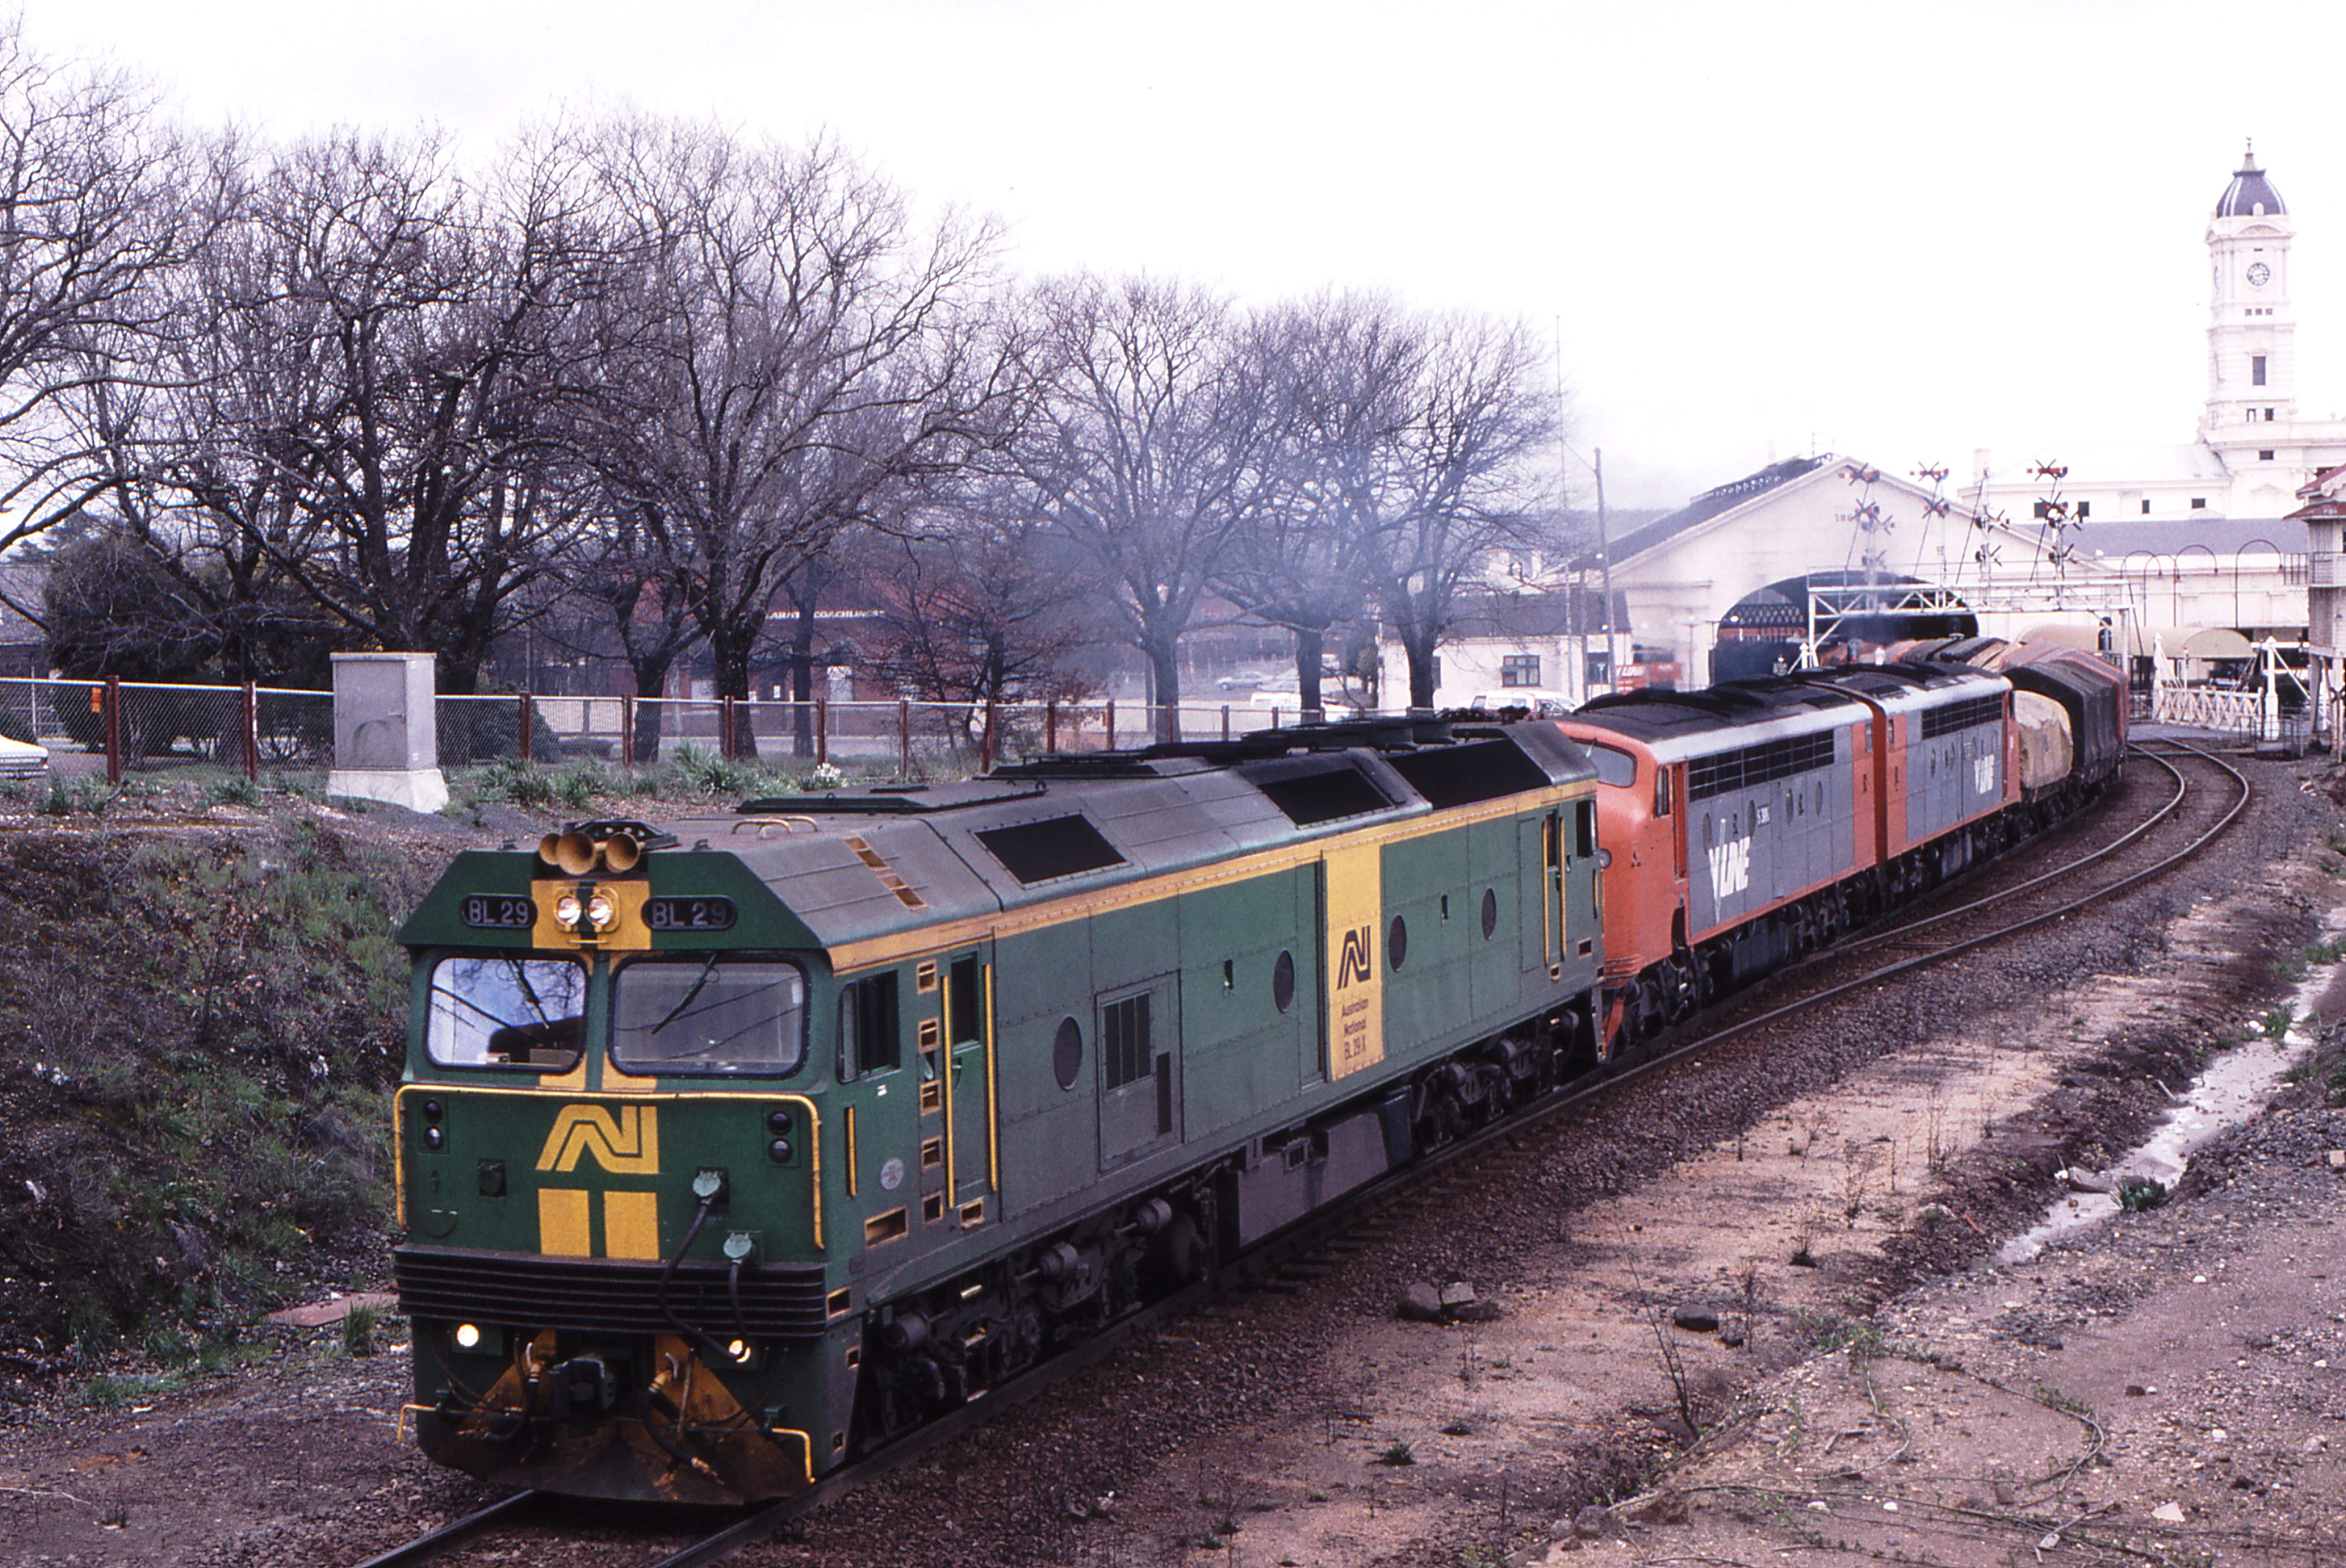
- 119448: Ballarat Armstrong Street Bridge 9169 Adelaide Freight BL 29 S 306 S 310
- Date Taken: 24 September 1994
- Country: Australia, State/Region: Victoria.
- Link to high resolution image: /media/photos/119448.jpg
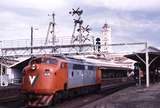
- 119443: Ballarat A 78 Engine from 8105 Down Passenger
- Date Taken: 22 September 1994
- Country: Australia, State/Region: Victoria.
- Link to high resolution image: /media/photos/119443.jpg
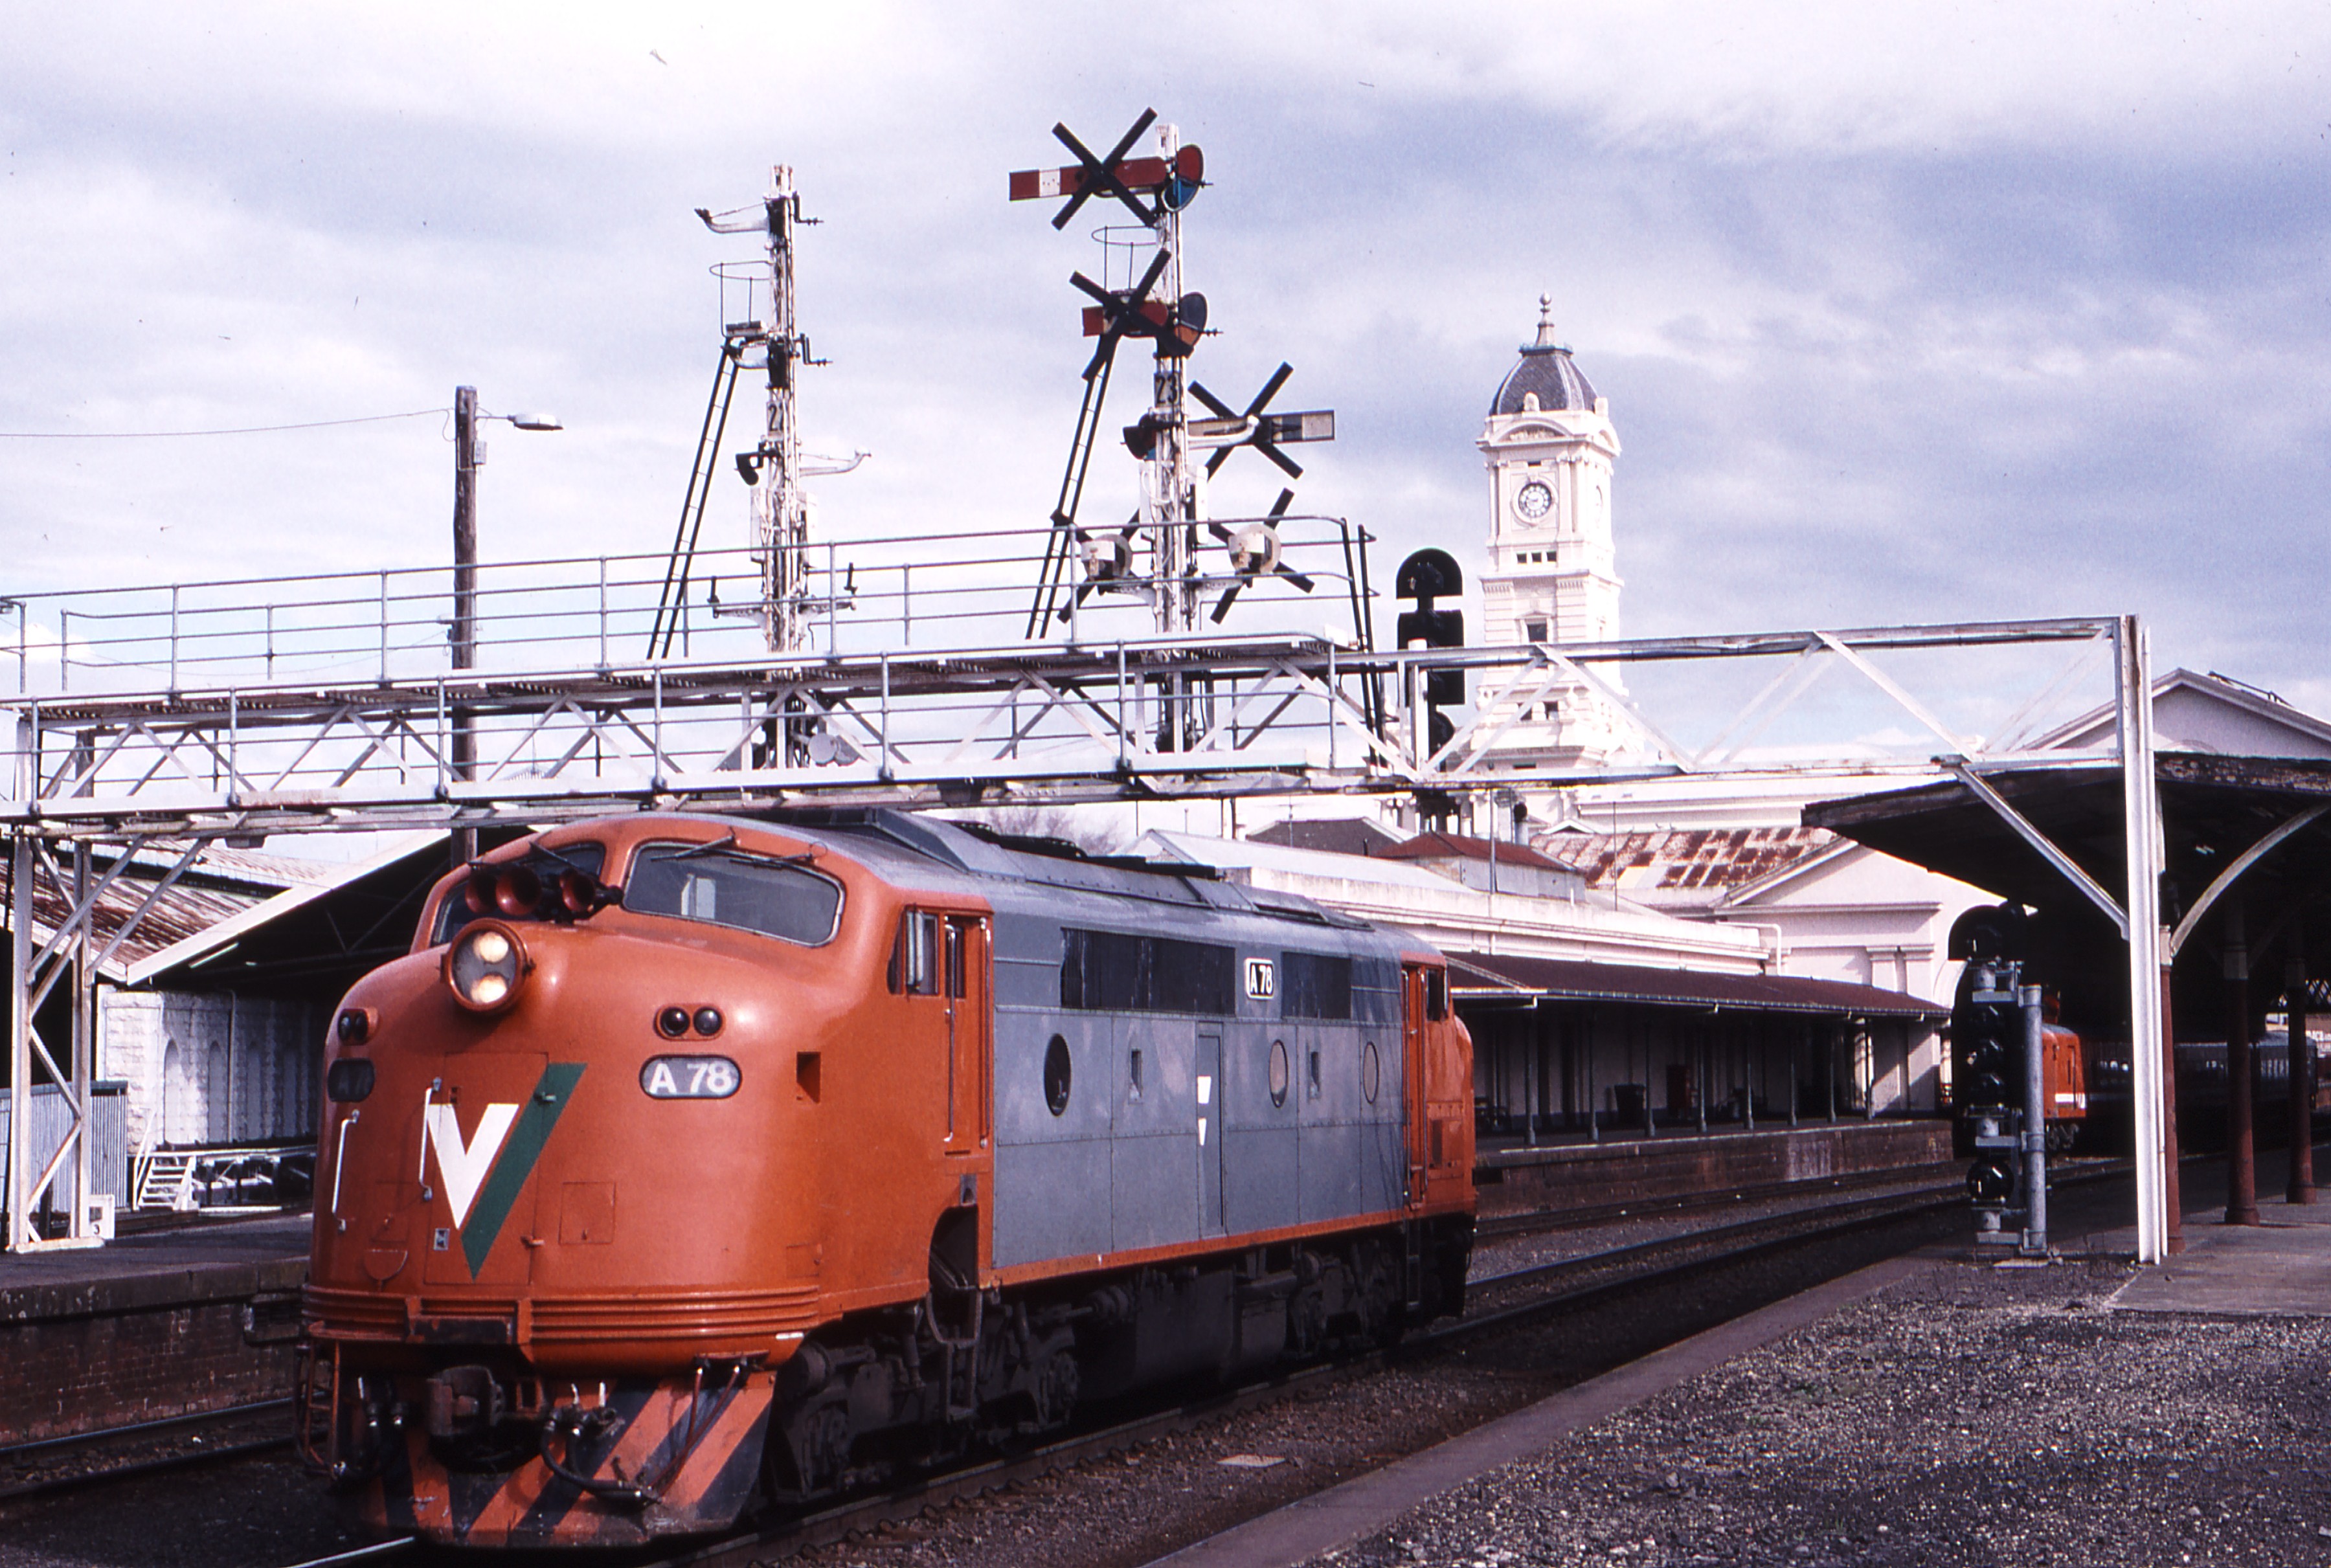
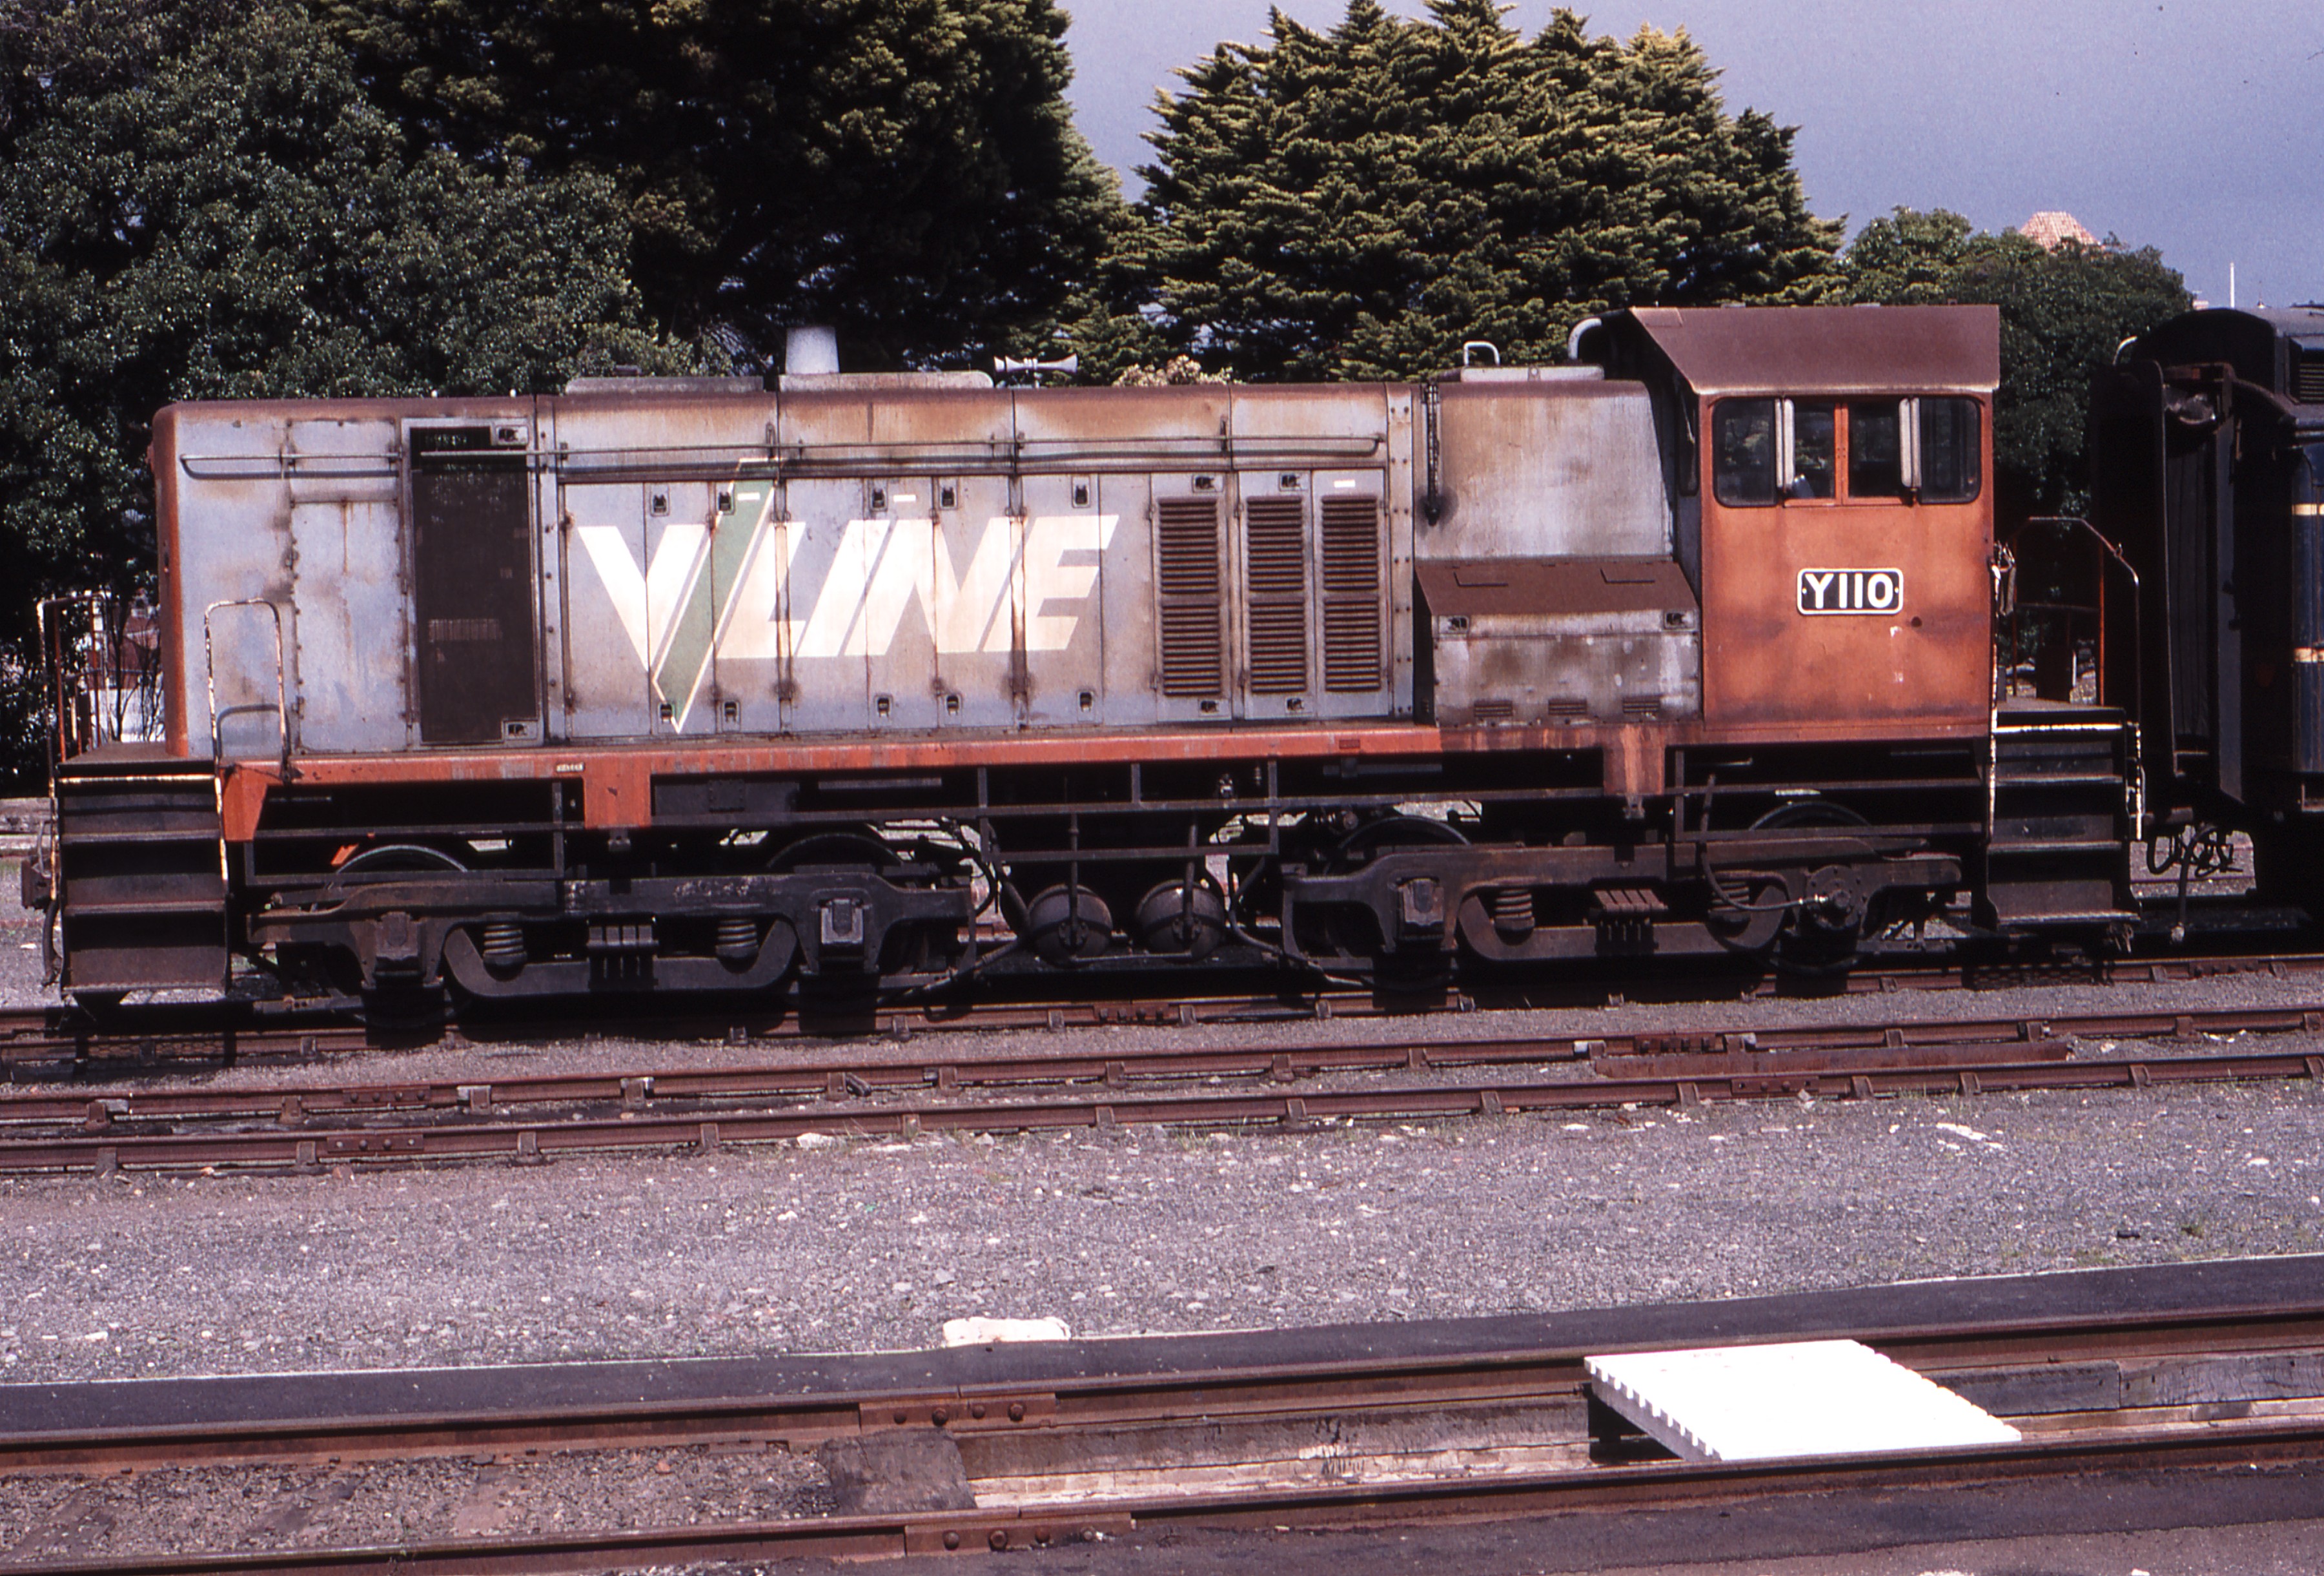
- 119444: Ballarat Y 110 On chaired track near Carriage Shed
- Date Taken: 22 September 1994
- Country: Australia, State/Region: Victoria.
- Link to high resolution image: /media/photos/119444.jpg

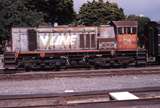
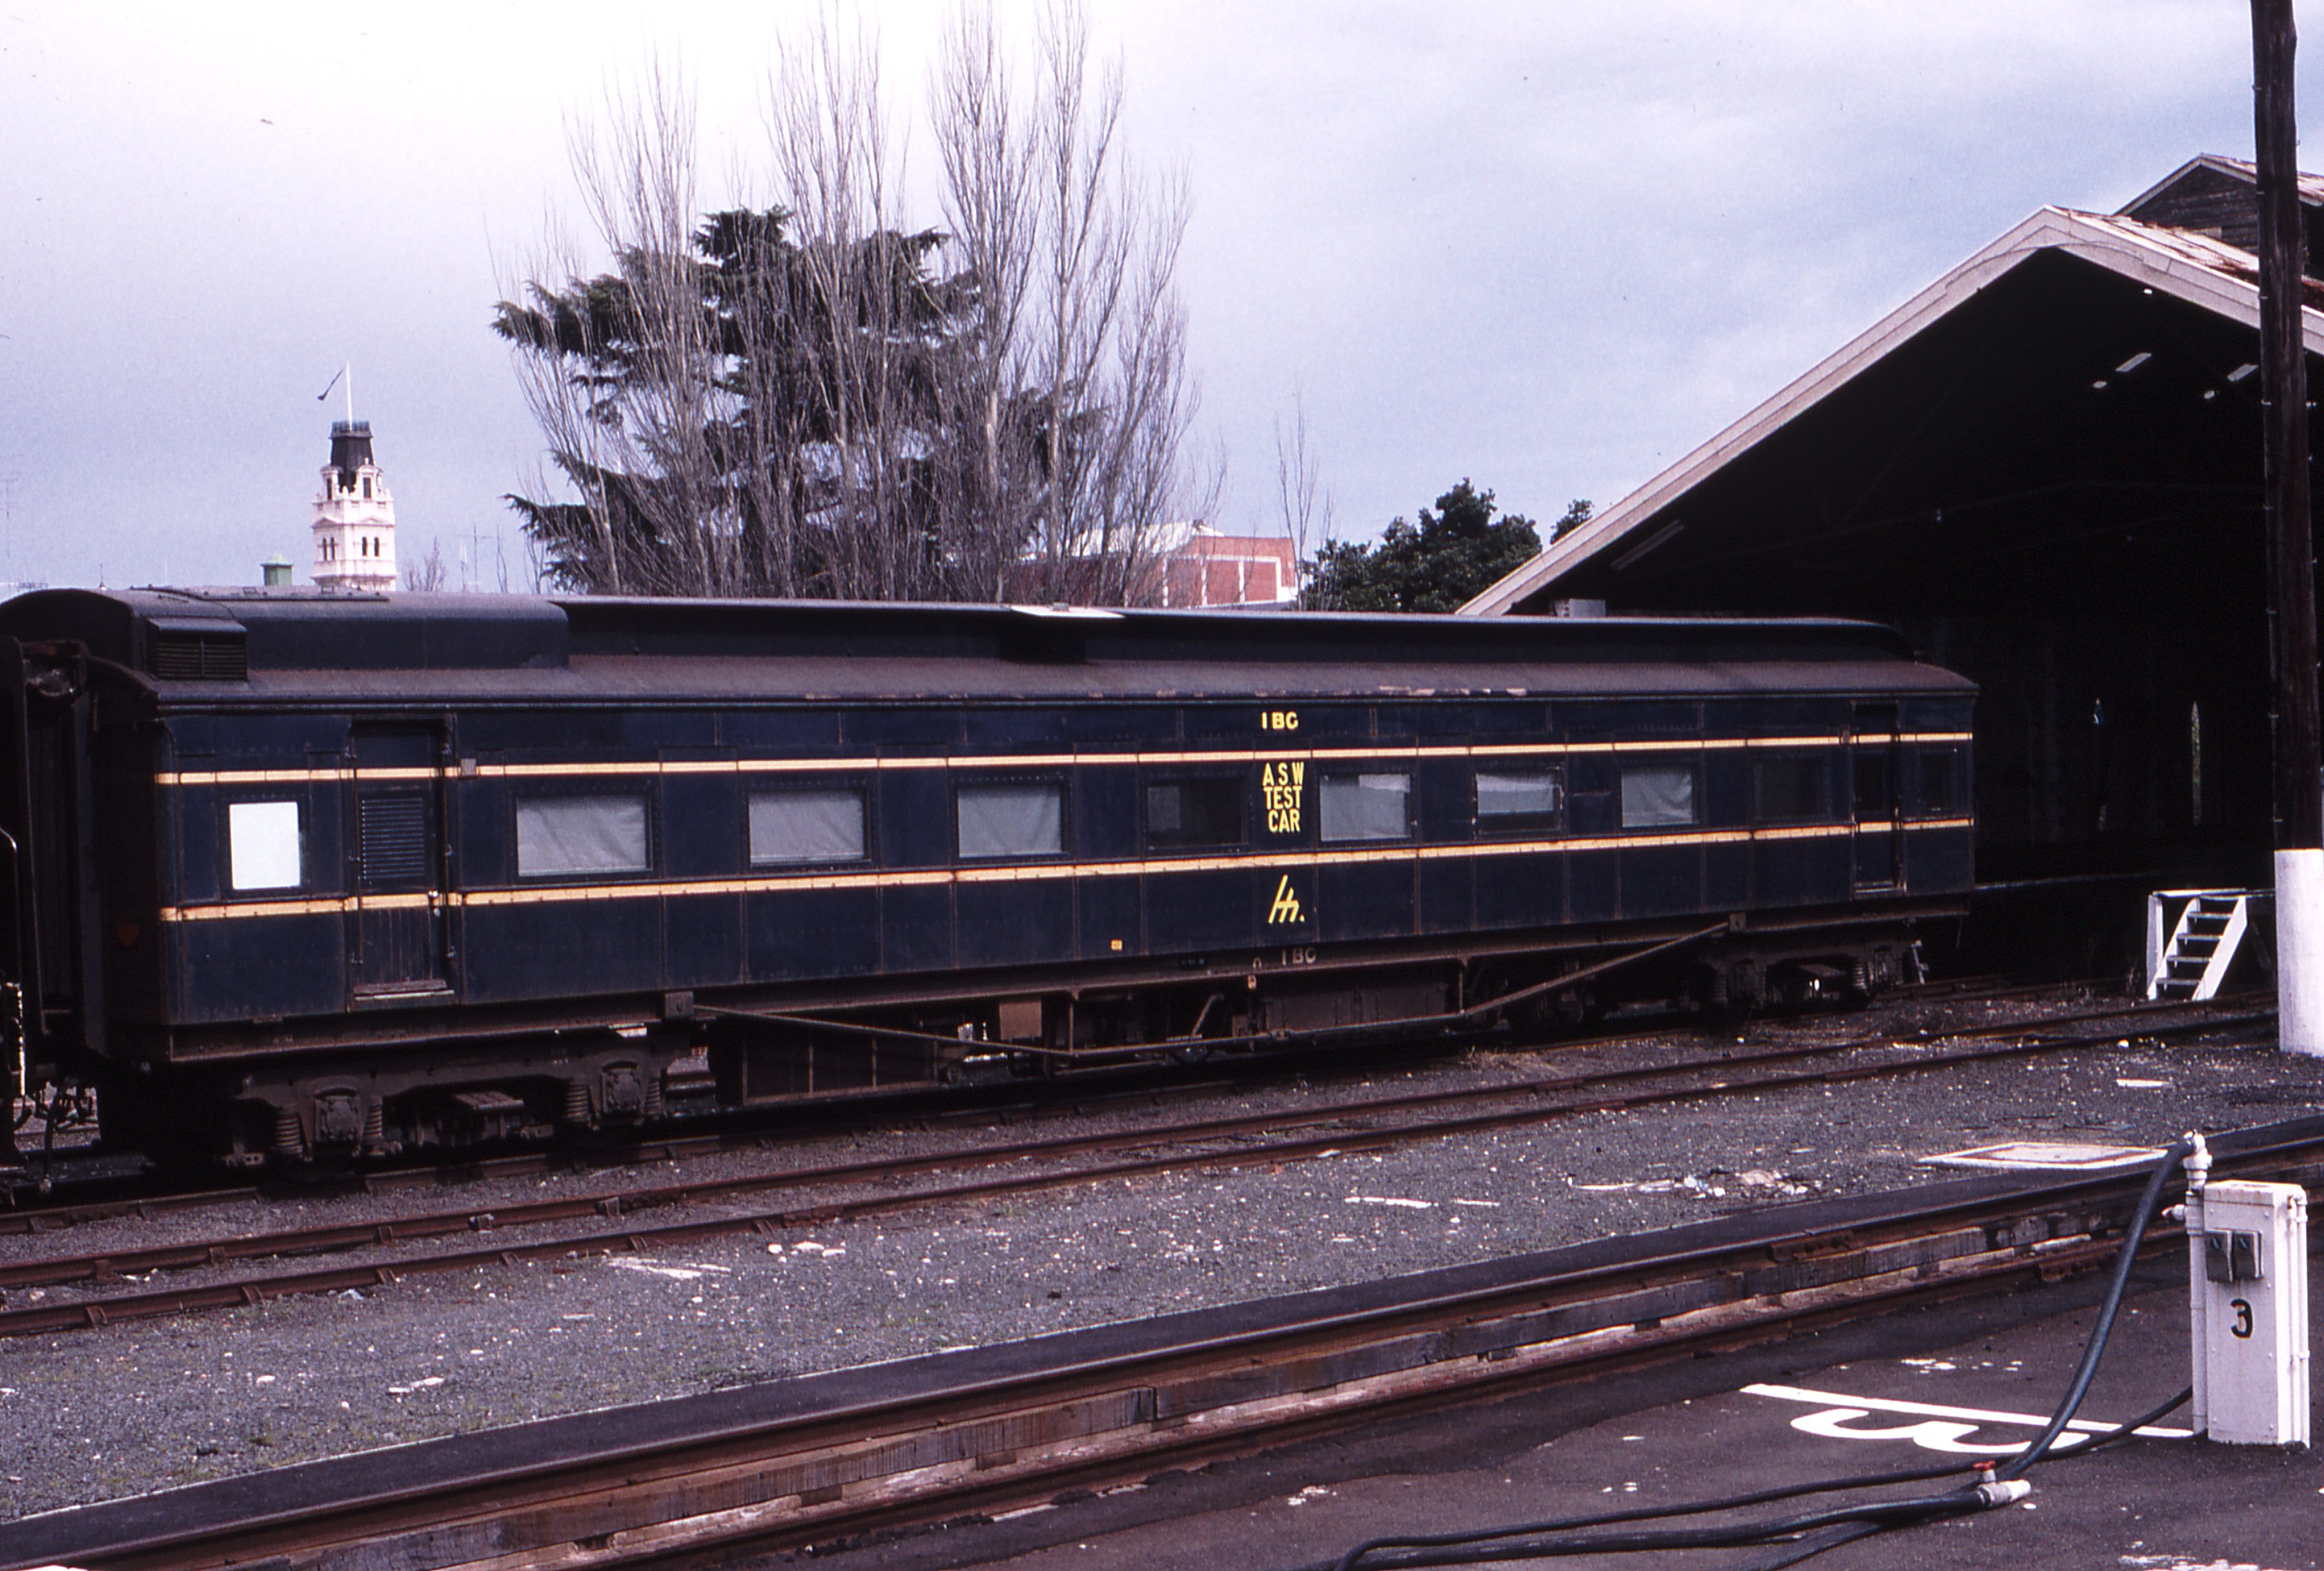
- 119445: Ballarat 1 BG Alternative Safeworking Test Car On chaired track near Carriage Shed
- Date Taken: 22 September 1994
- Country: Australia, State/Region: Victoria.
- Link to high resolution image: /media/photos/119445.jpg
- 119437: Cockatoo - Fielder End of Steel at East End of Curve 97 Looking towards Belgrave
- Date Taken: 17 September 1994
- Country: Australia, State/Region: Victoria.
- Link to high resolution image: /media/photos/119437.jpg
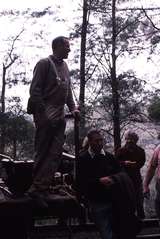
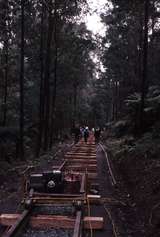
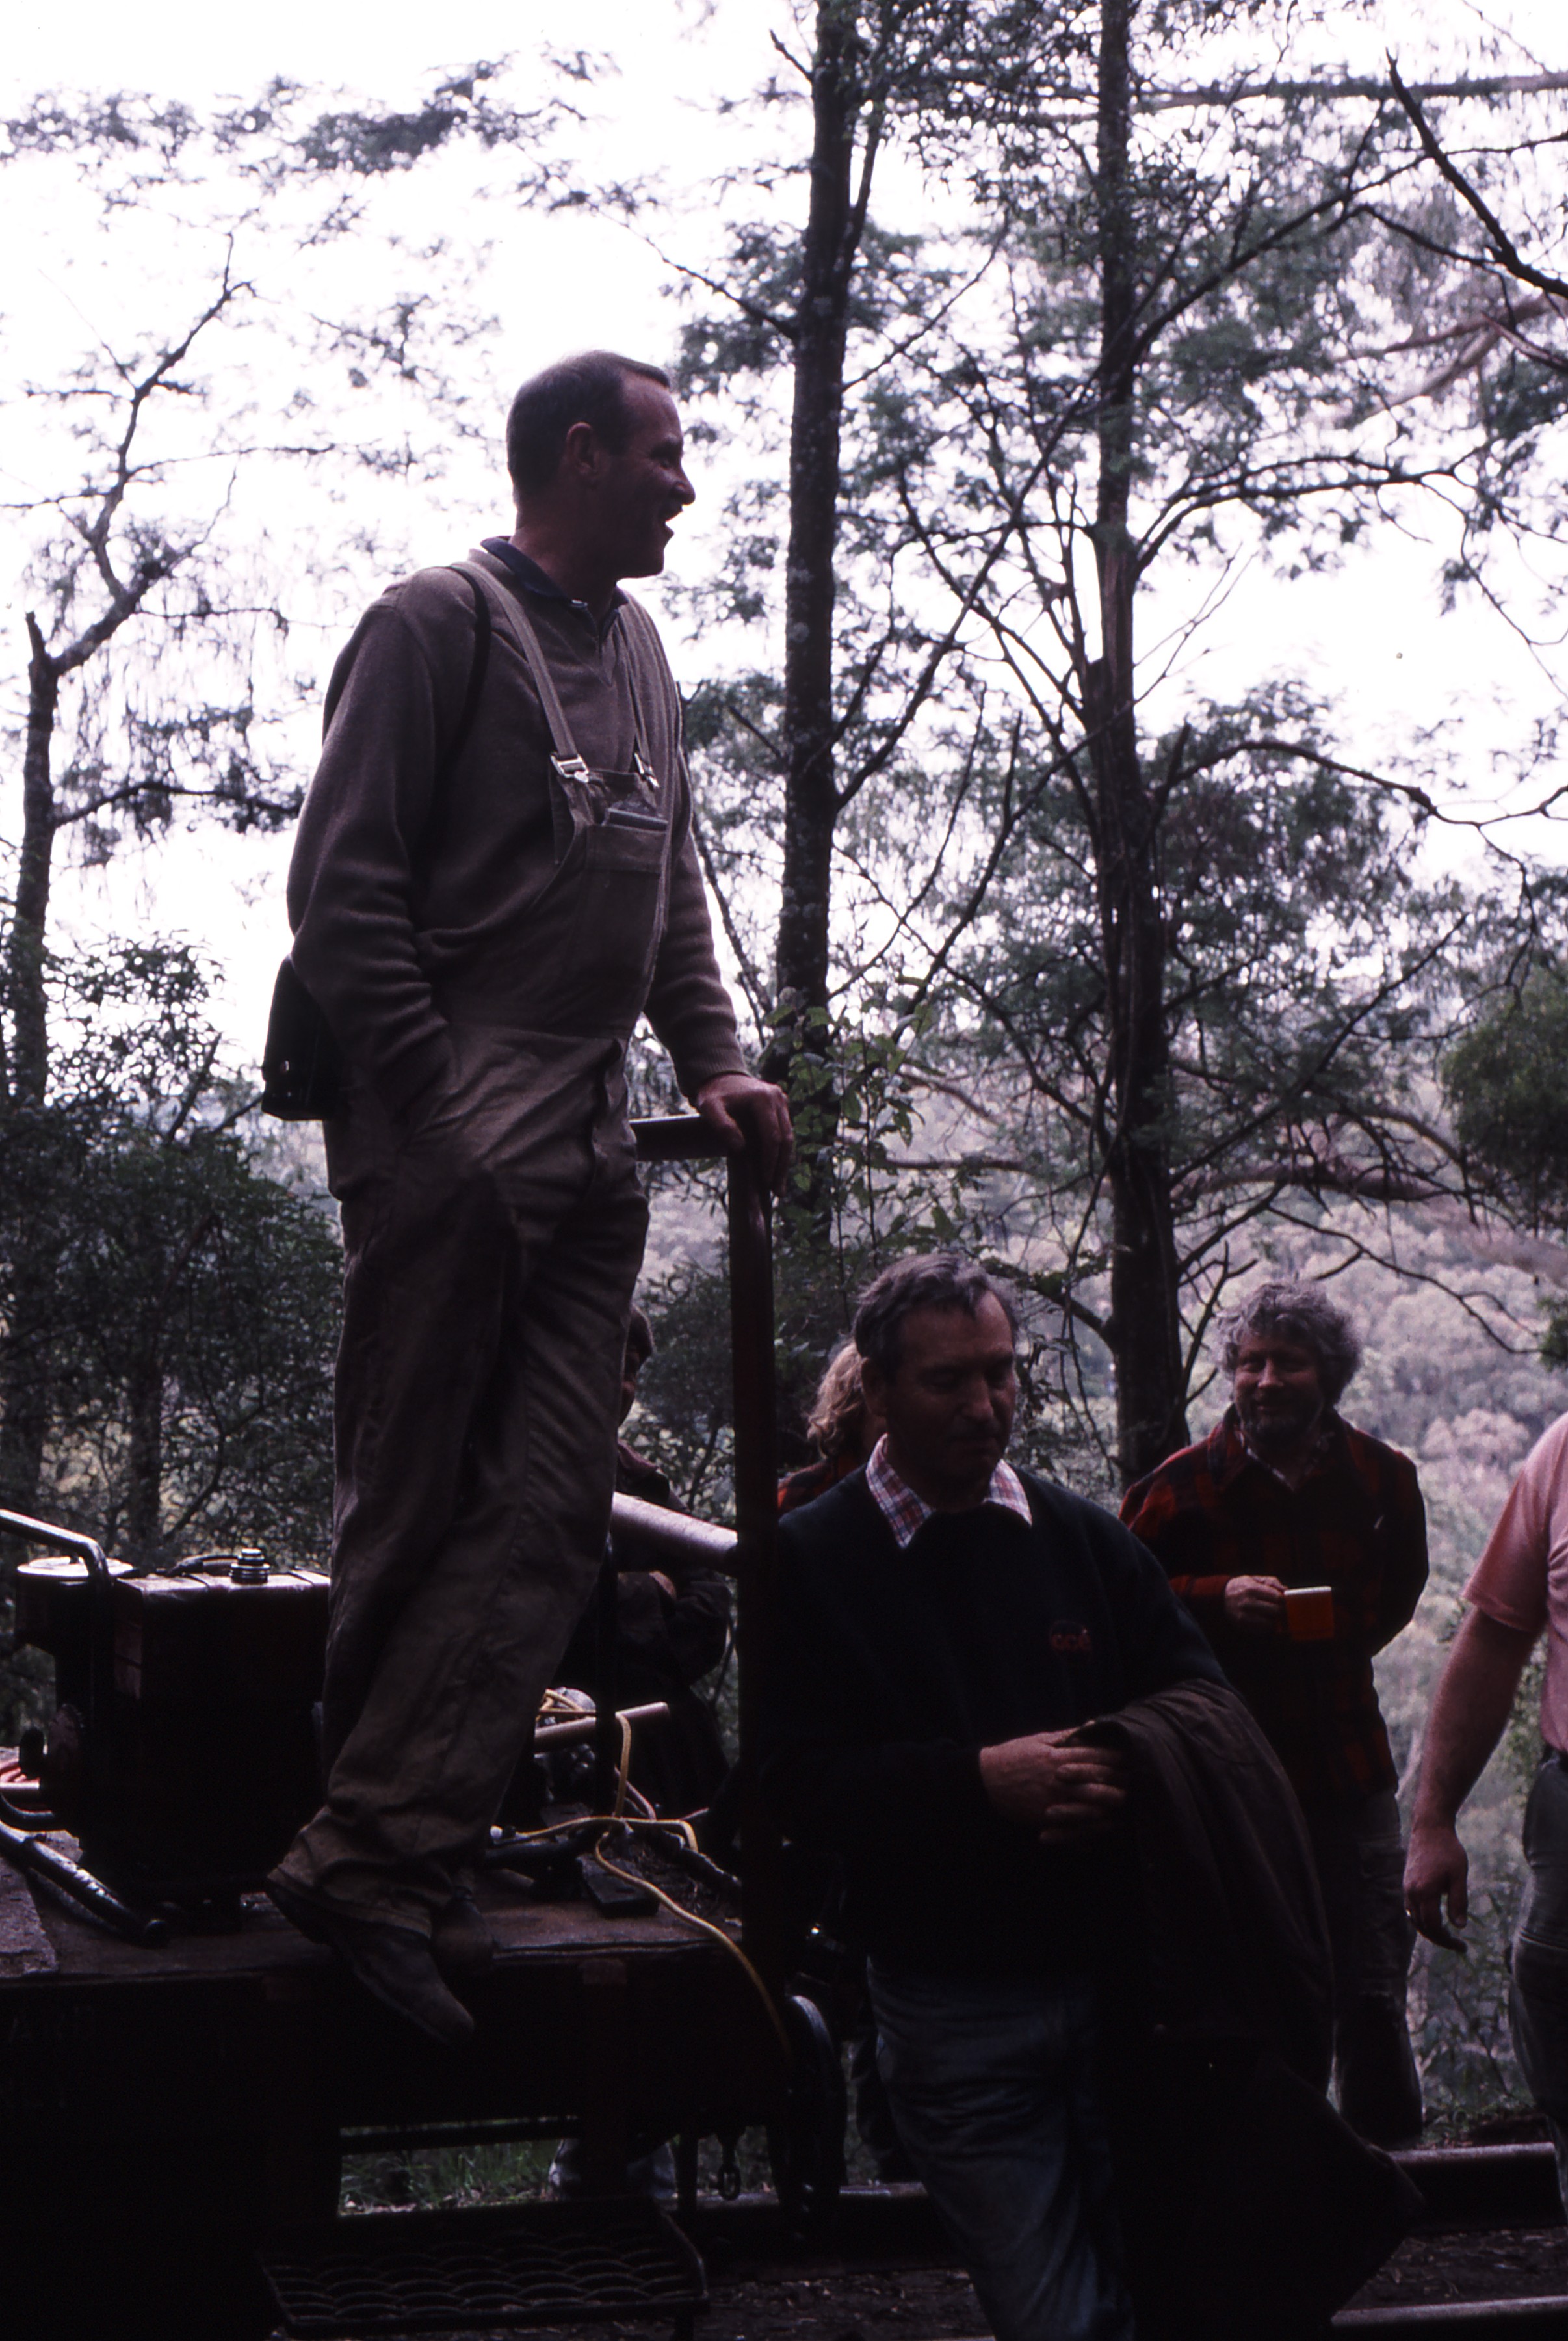
- 119438: Cockatoo - Fielder Section at Curve 95L Belgrave end John Shaw addressing Volunteers
- Date Taken: 17 September 1994
- Country: Australia, State/Region: Victoria.
- Link to high resolution image: /media/photos/119438.jpg

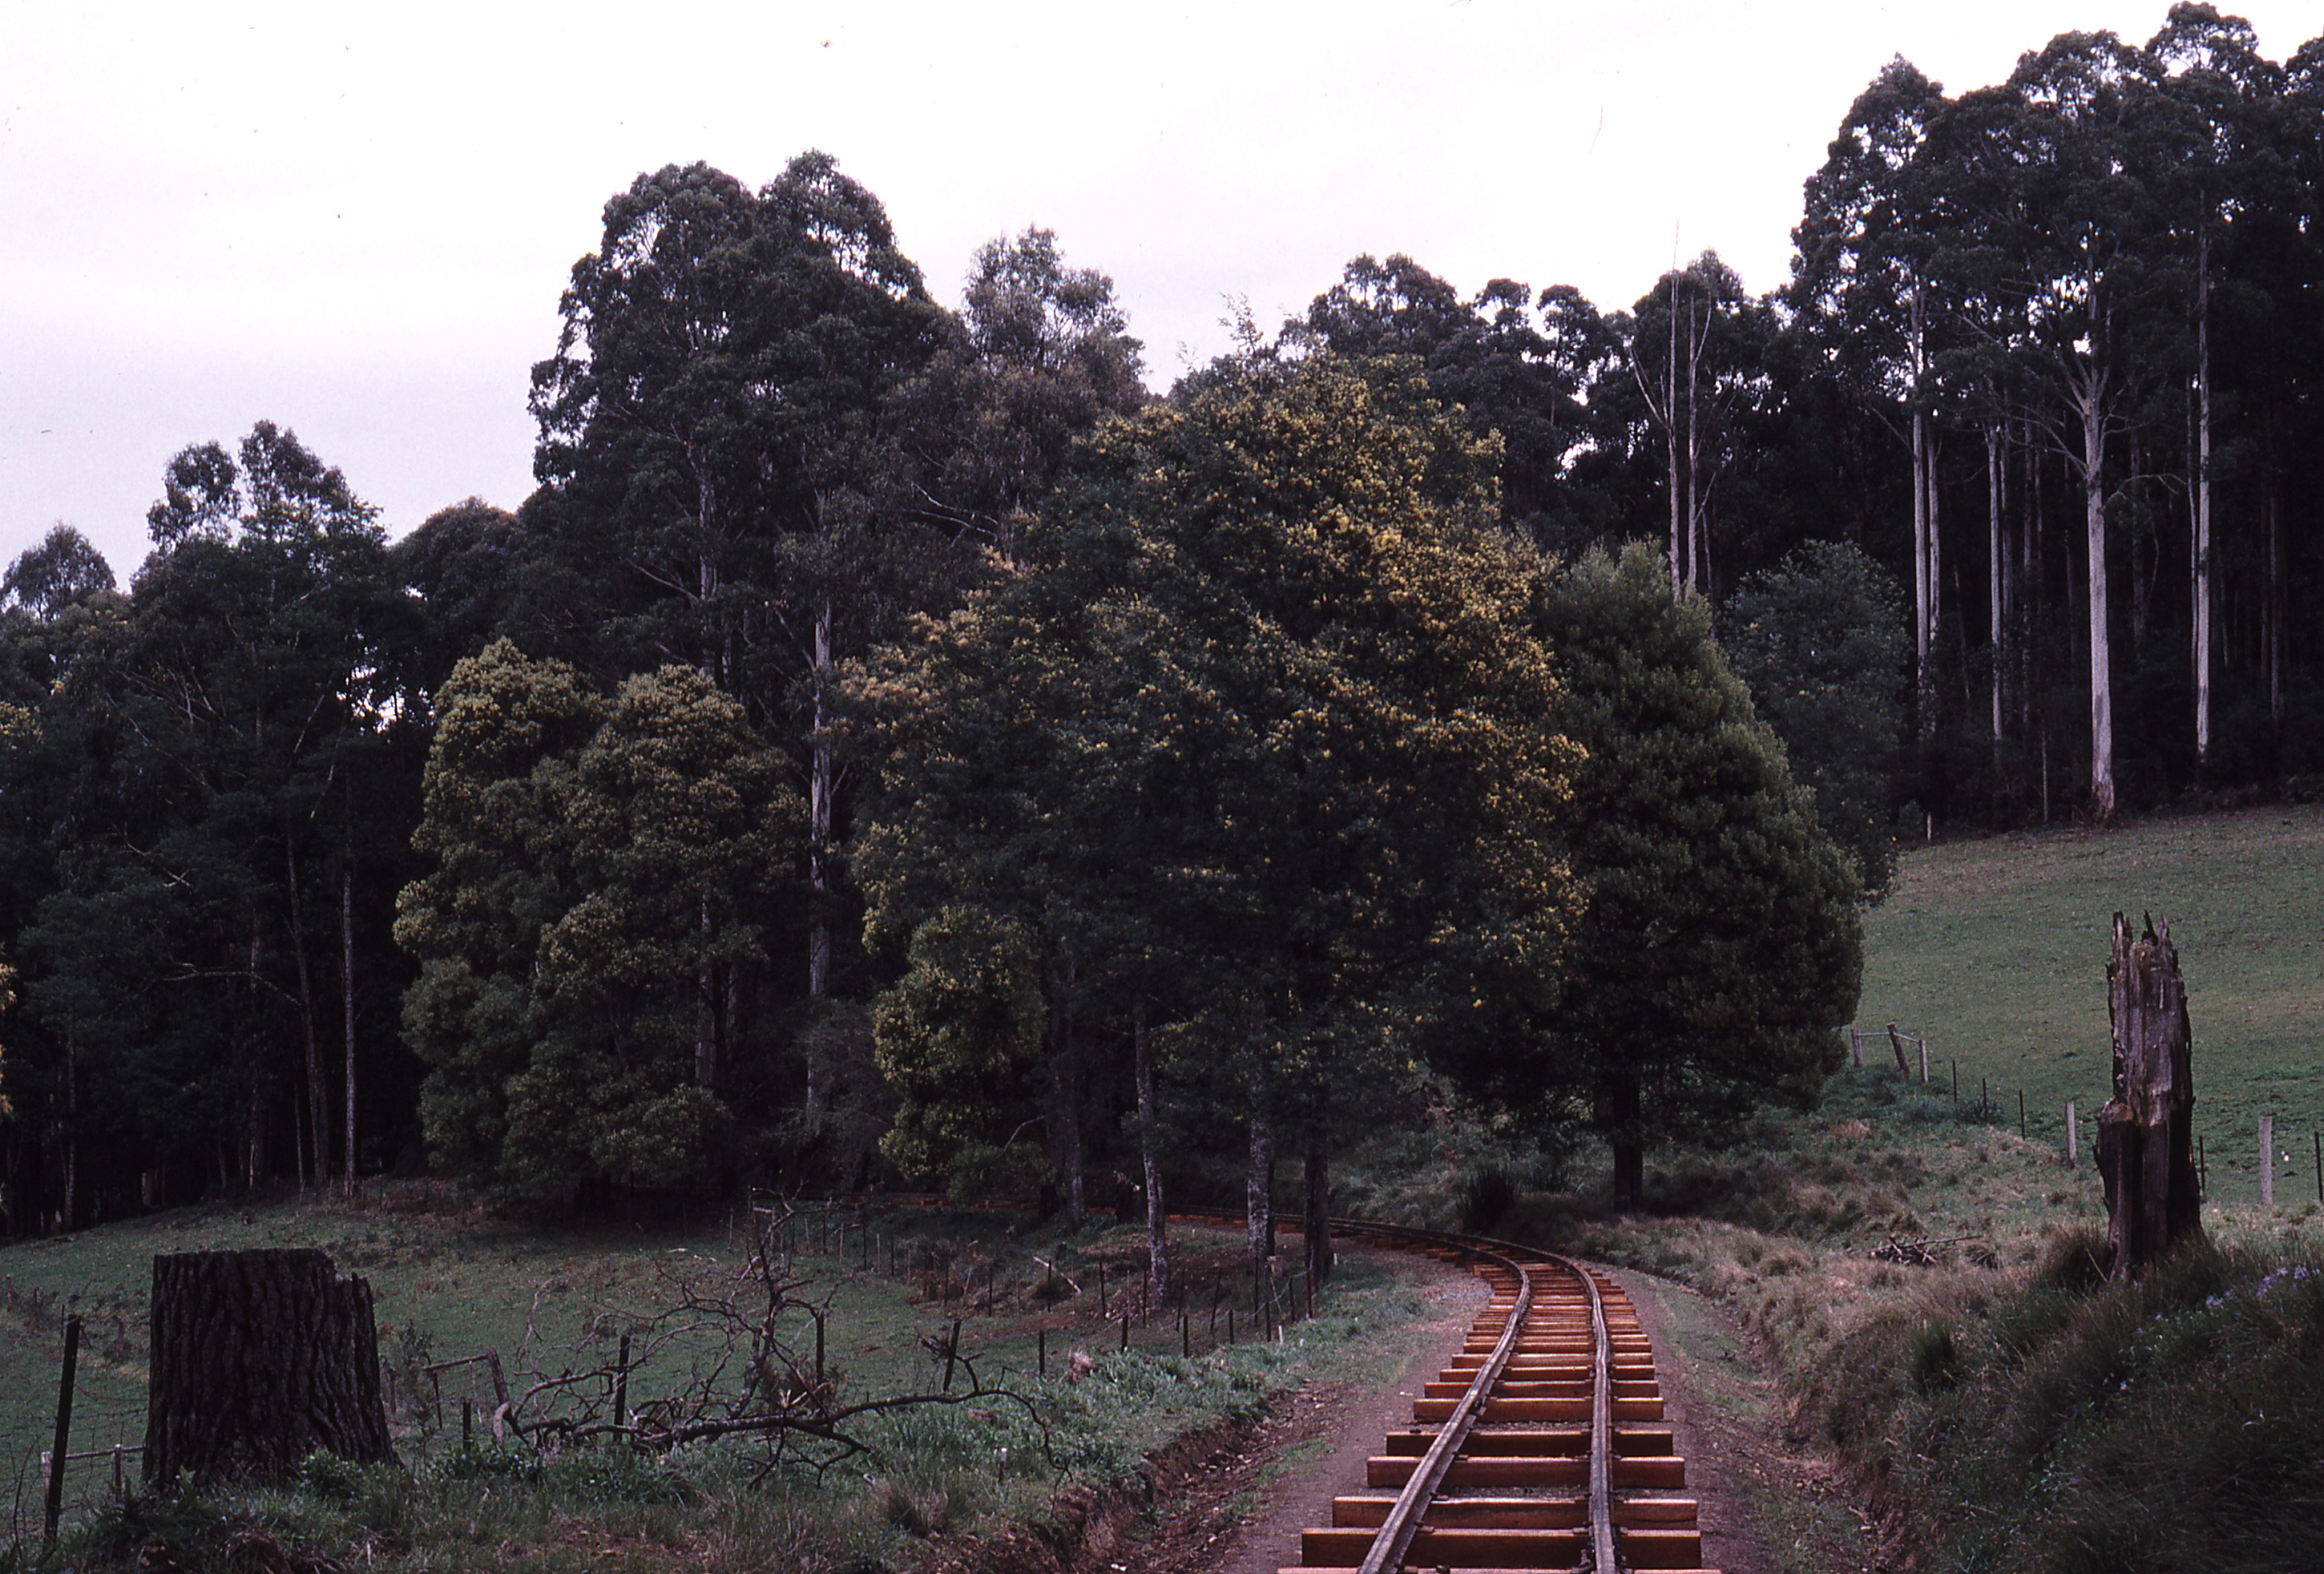
- 119439: Fielder up side Looking West towards Curve 96R
- Date Taken: 17 September 1994
- Country: Australia, State/Region: Victoria.
- Link to high resolution image: /media/photos/119439.jpg
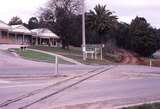
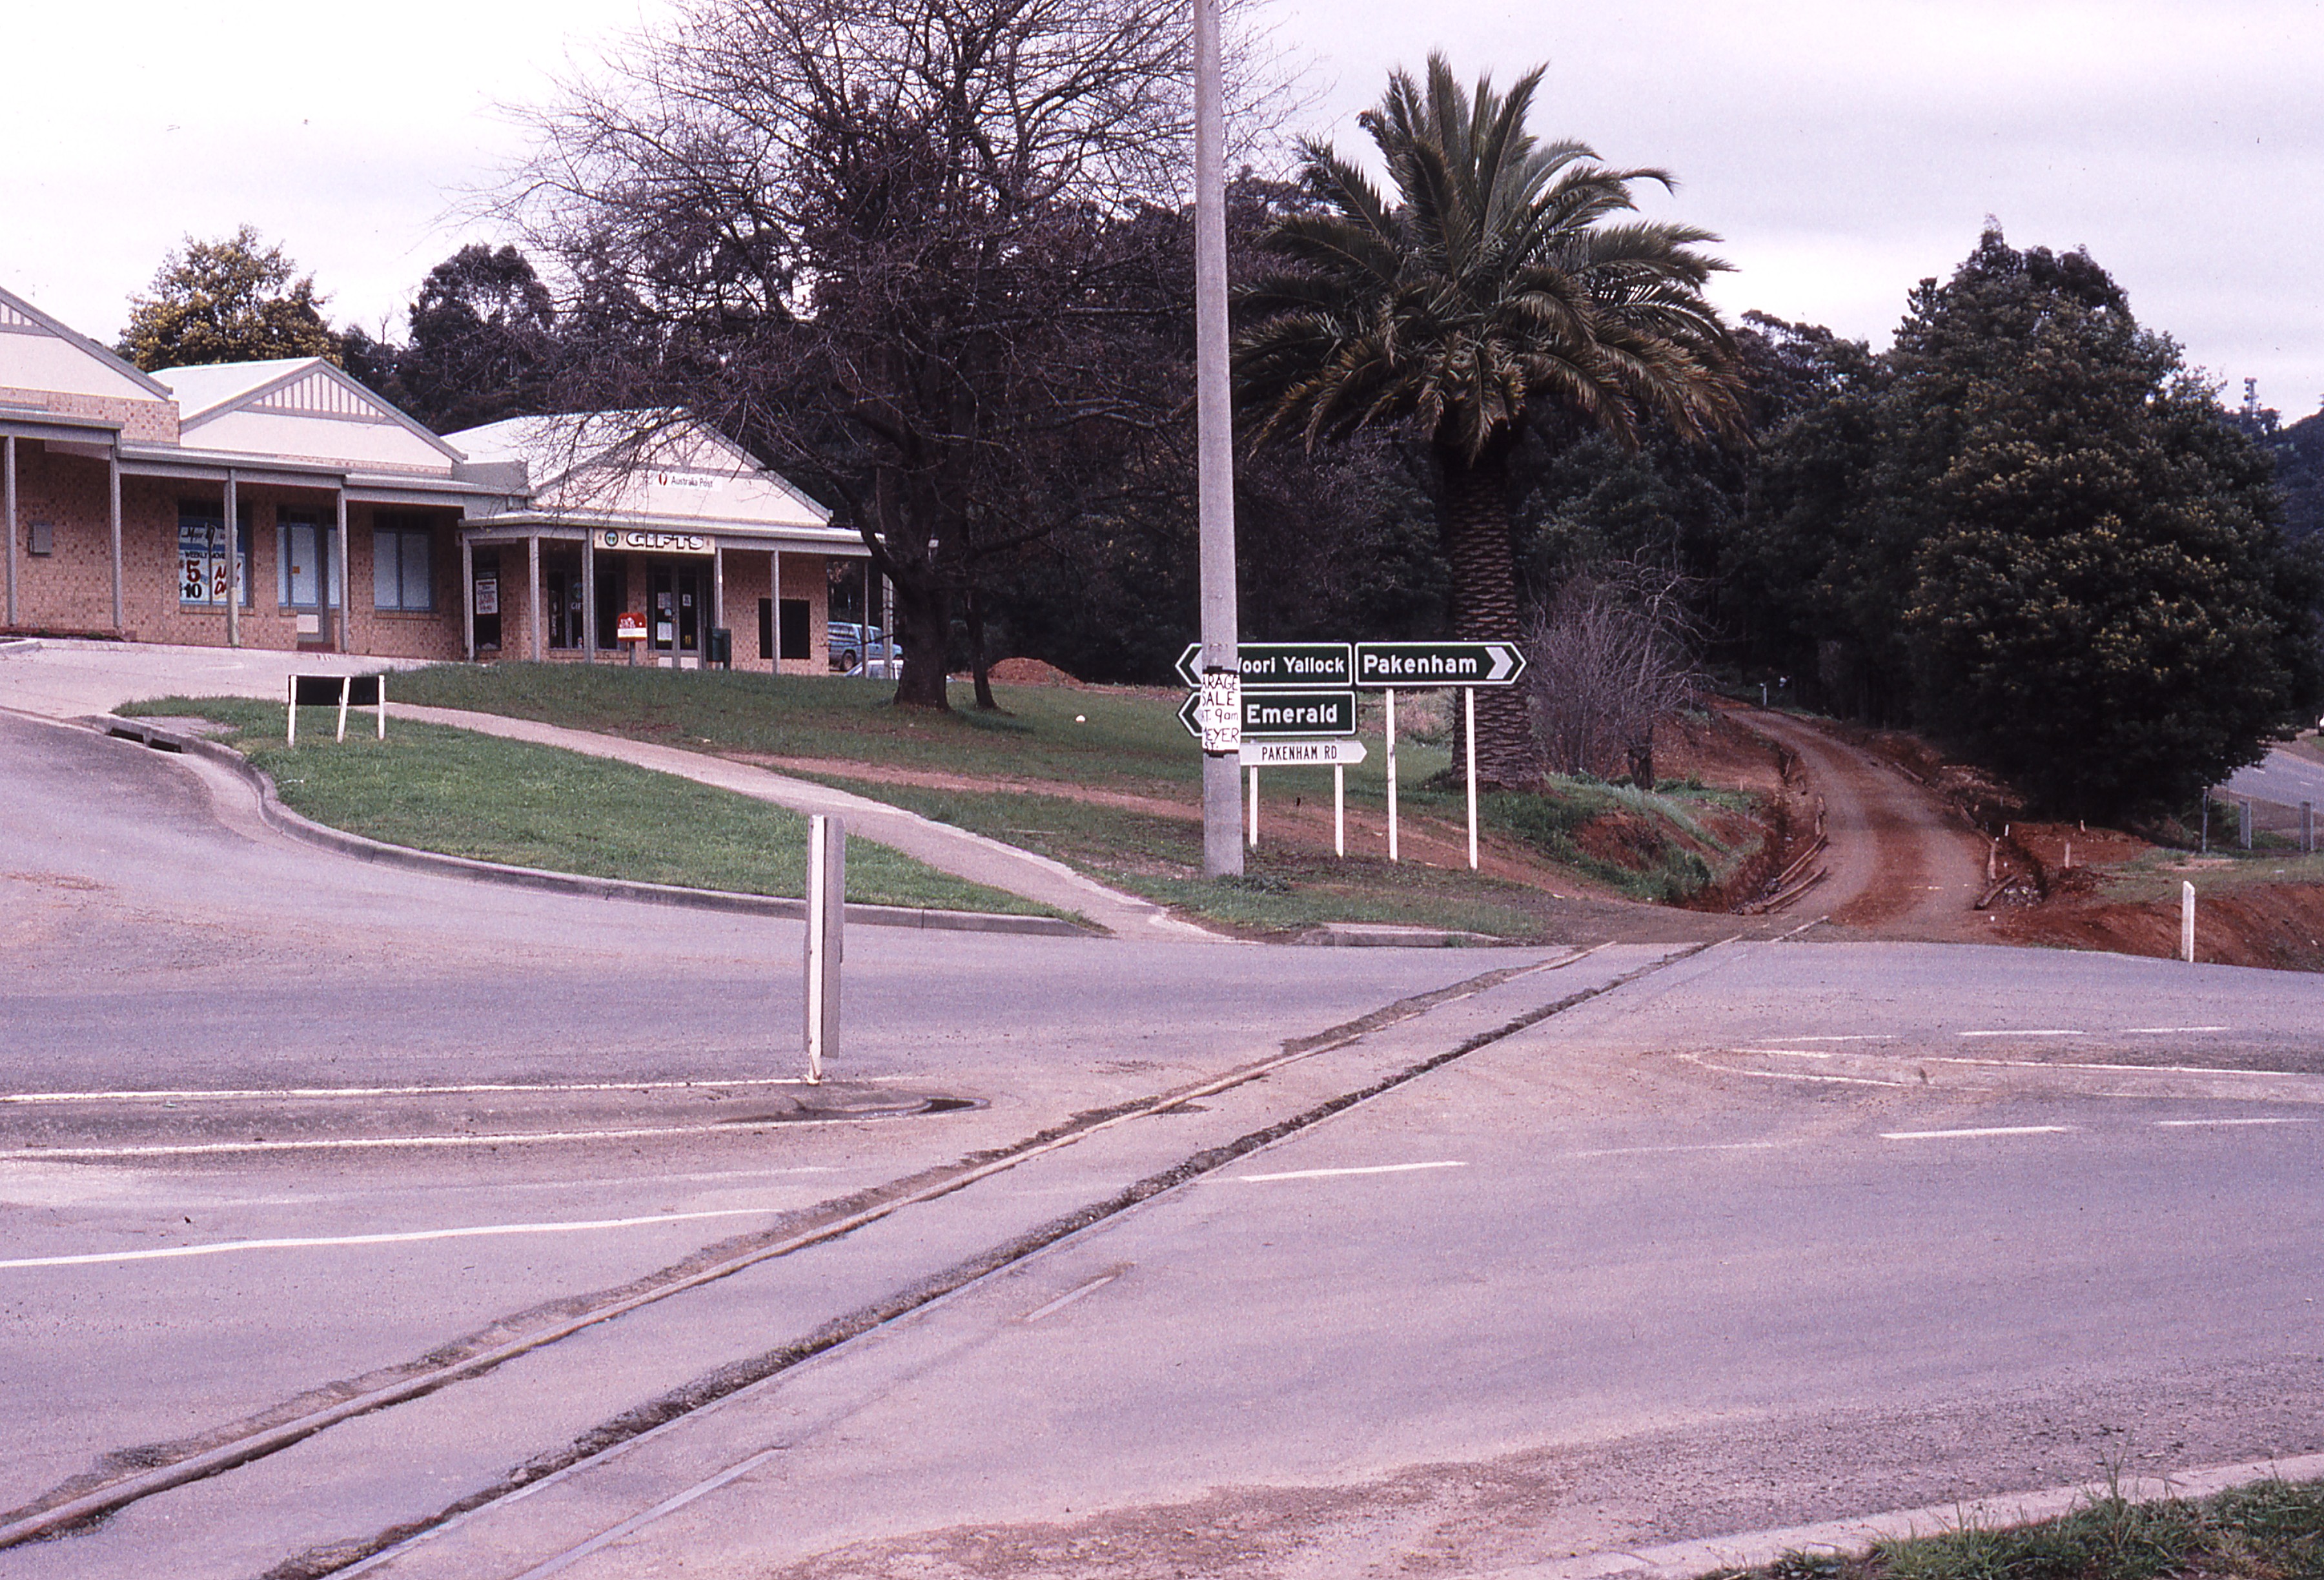
- 119440: Cockatoo Healesville - Koo Wee Rup Road Level Crossing Looking East along Curve 89L
- Date Taken: 17 September 1994
- Country: Australia, State/Region: Victoria.
- Link to high resolution image: /media/photos/119440.jpg
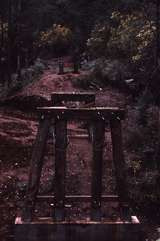
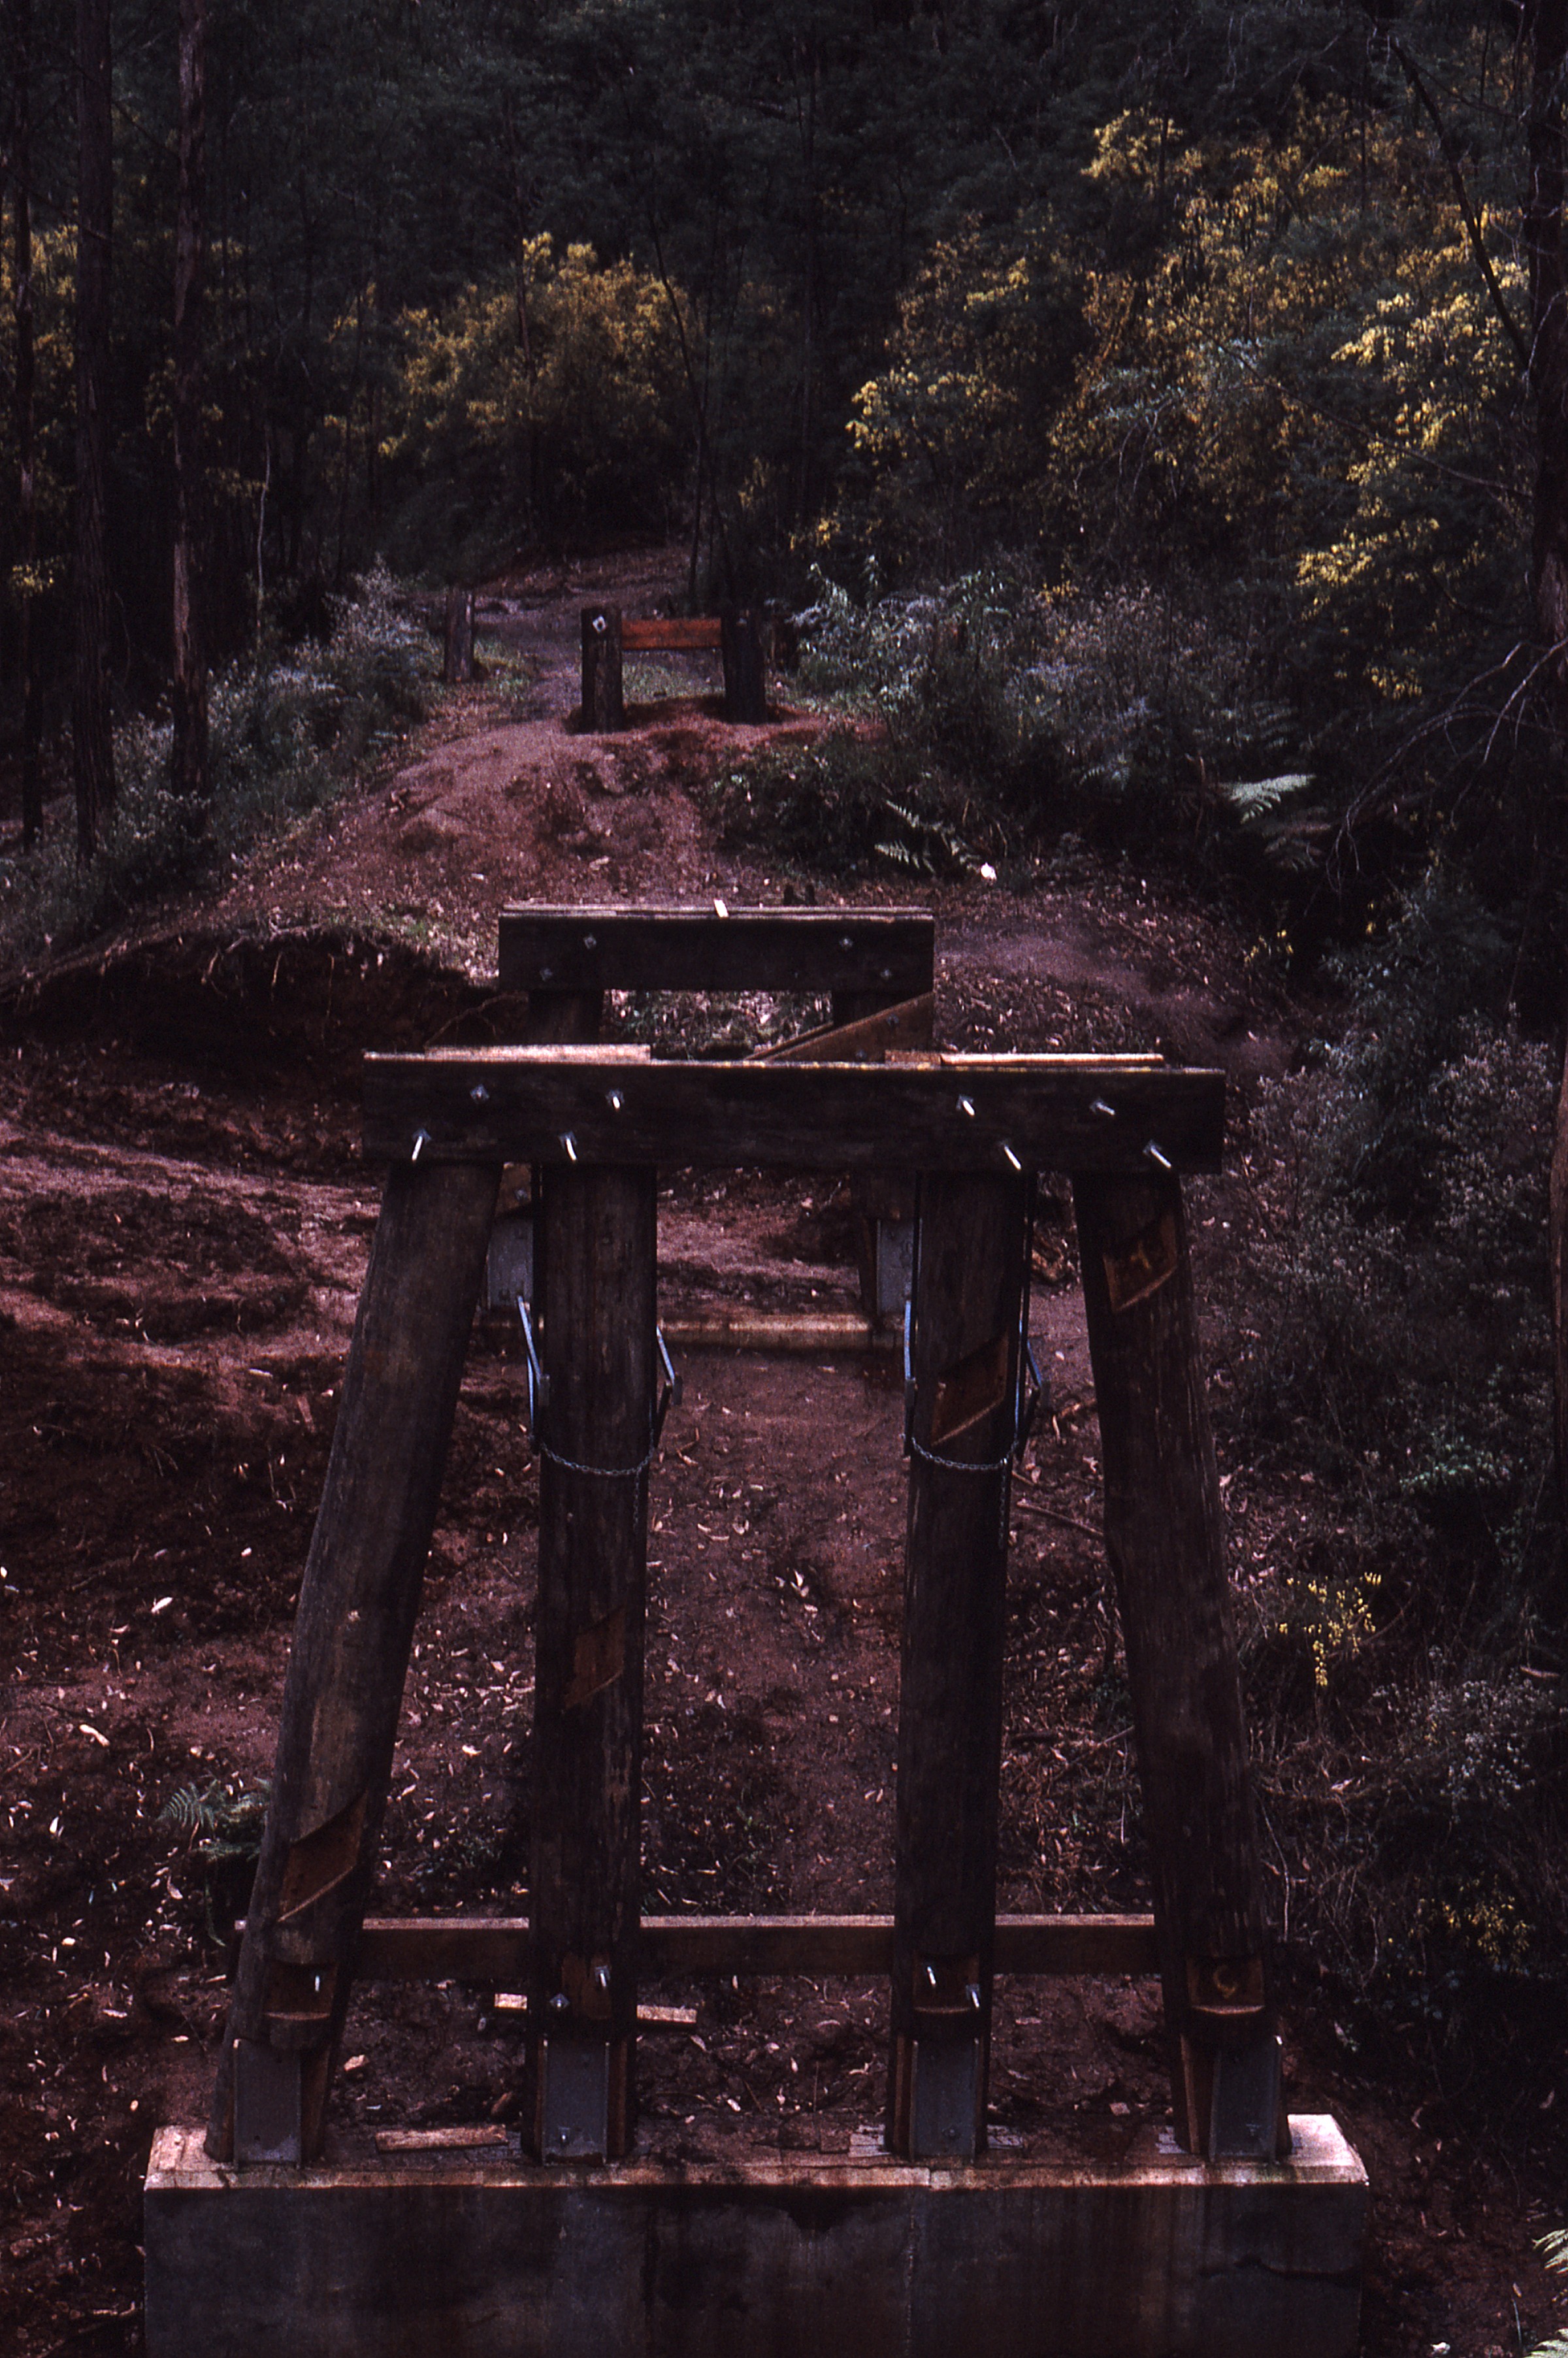
- 119441: Wright Bridge Looking East from West Abutment
- Date Taken: 17 September 1994
- Country: Australia, State/Region: Victoria.
- Link to high resolution image: /media/photos/119441.jpg
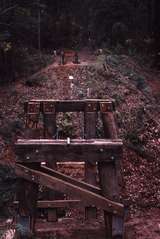
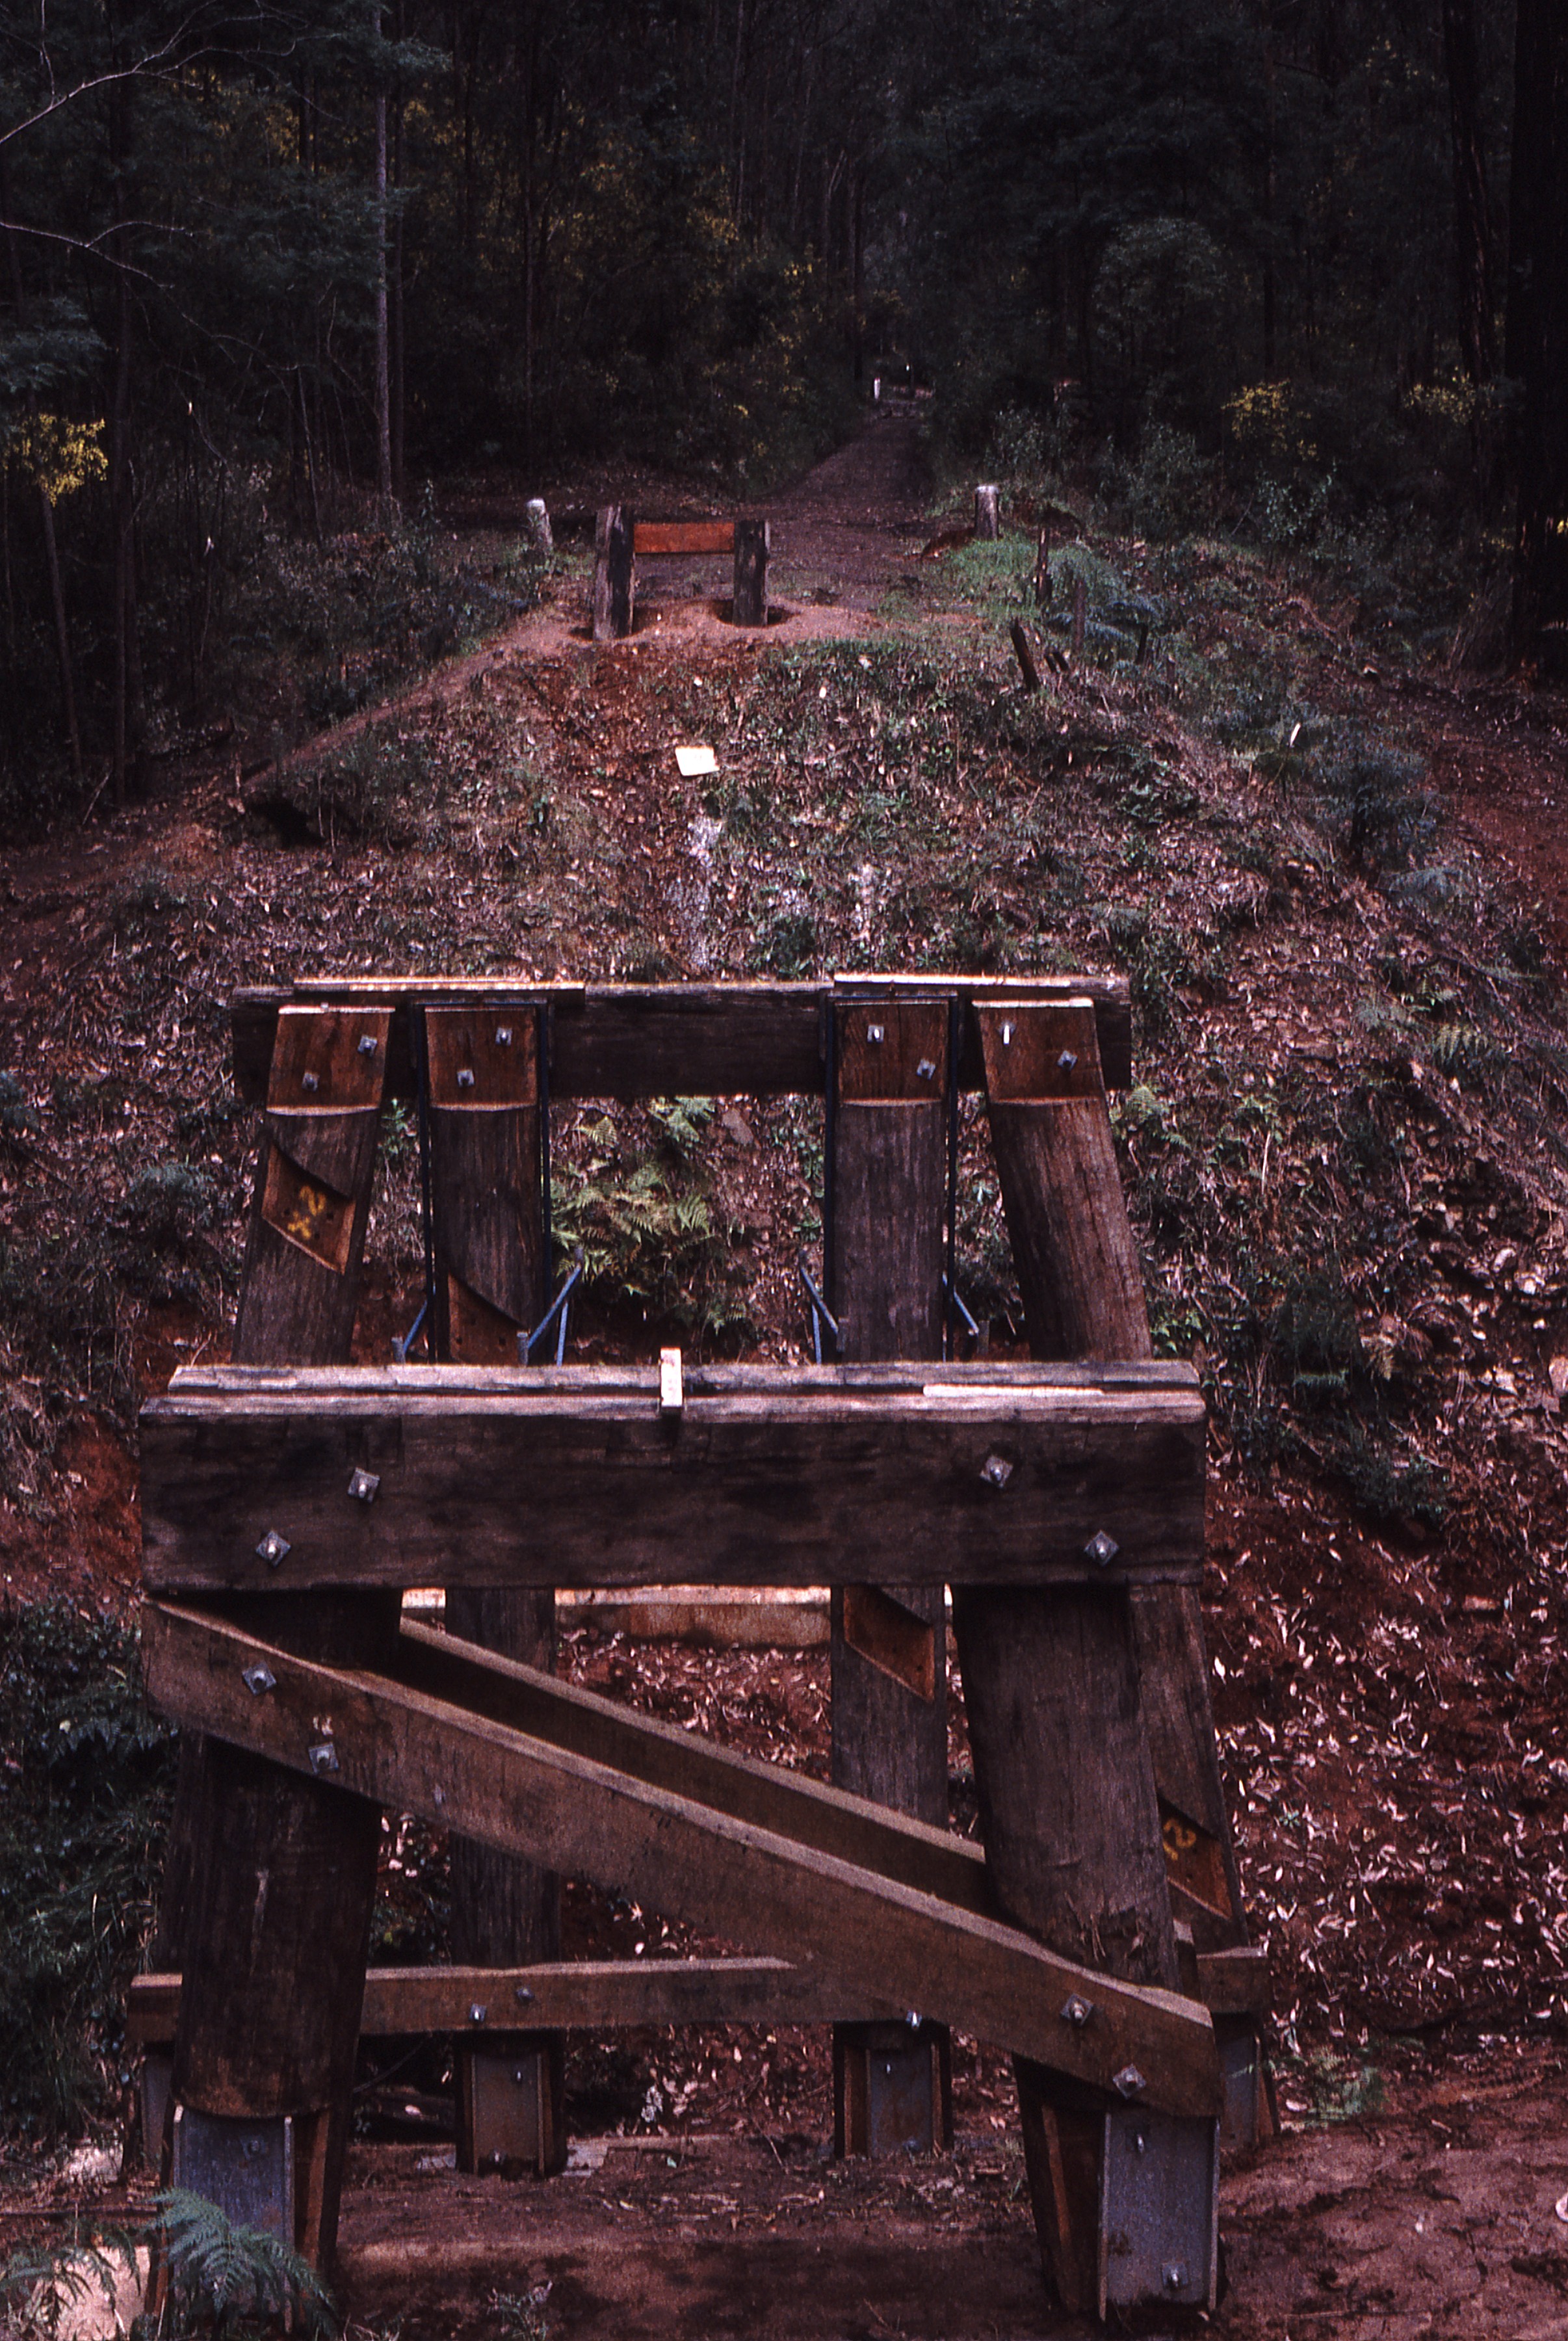
- 119442: Wright Bridge Looking West from East Abutment
- Date Taken: 17 September 1994
- Country: Australia, State/Region: Victoria.
- Link to high resolution image: /media/photos/119442.jpg
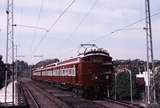
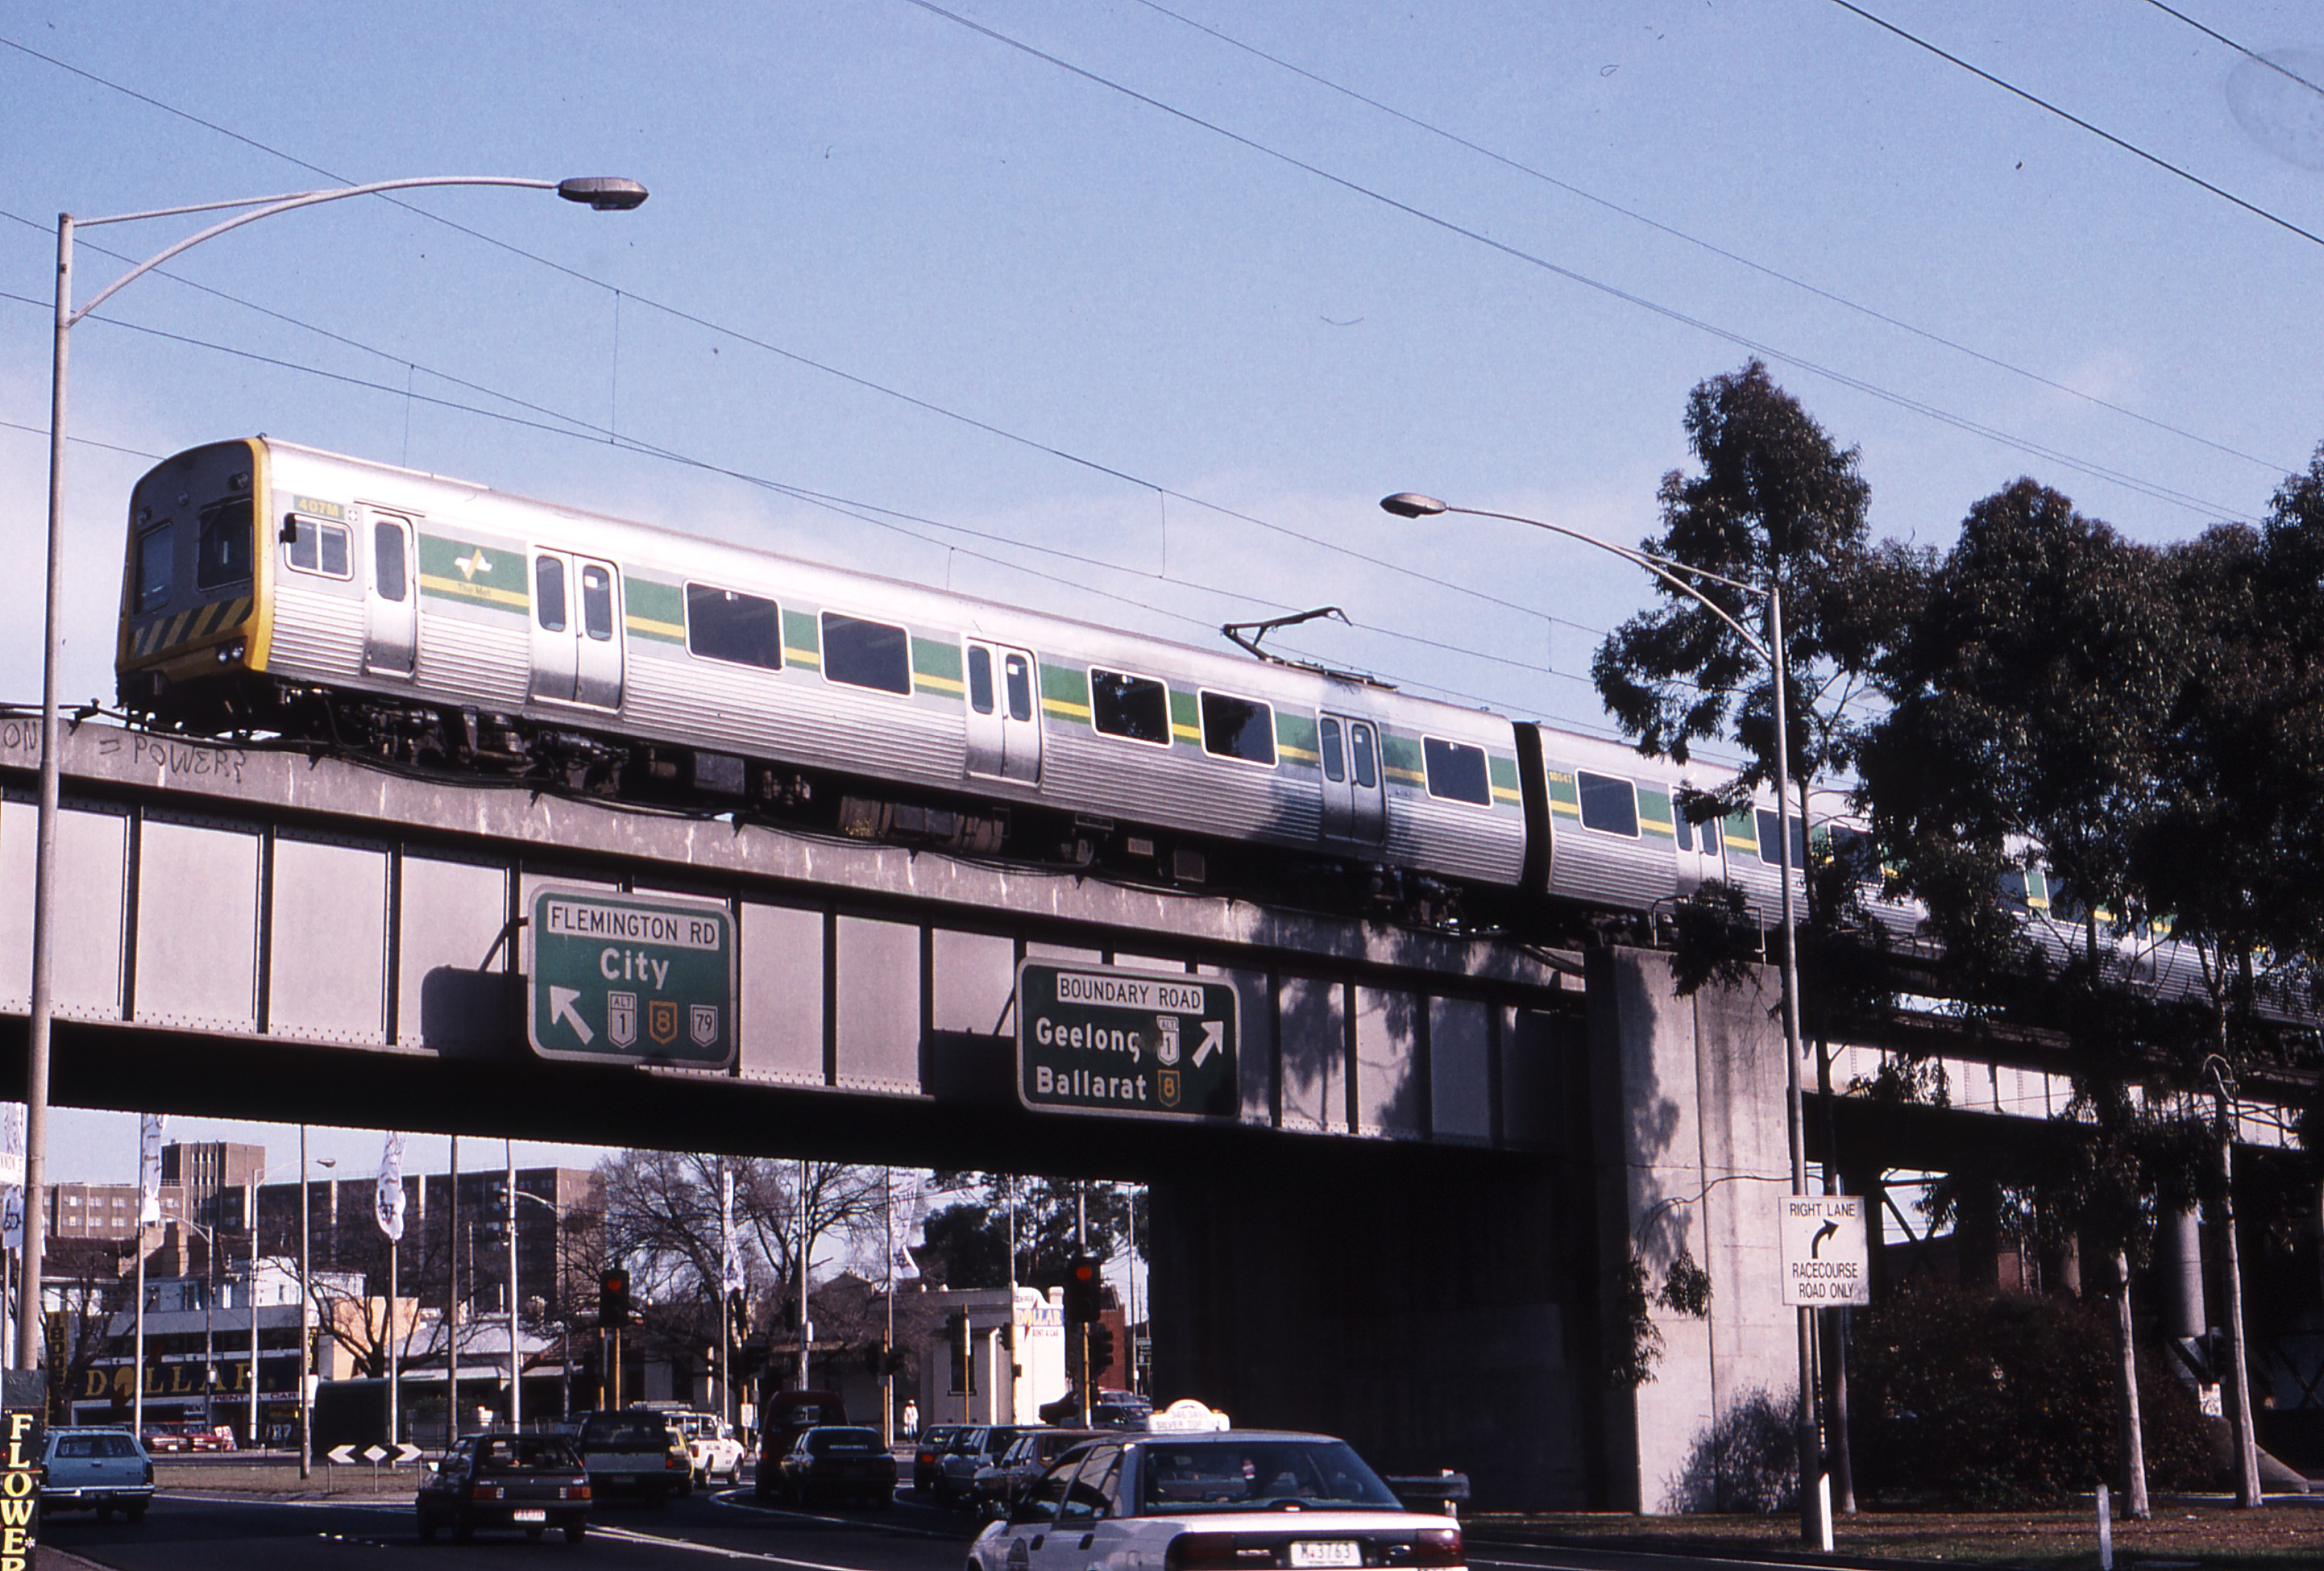
- 119431: Flemington Bridge Up Save the Upfield Line Special 4-car Tait 381 M leading J 515 trailing
- Date Taken: 10 September 1994
- Country: Australia, State/Region: Victoria.
- Link to high resolution image: /media/photos/119431.jpg
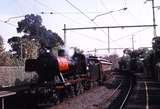
- 119432: Flemington Bridge Up Save the Upfield Line Special 4-car Tait J 515 trailing
- Date Taken: 10 September 1994
- Country: Australia, State/Region: Victoria.
- Link to high resolution image: /media/photos/119432.jpg
- 119433: Flemington Bridge Up Save the Upfield Line Special 4-car Tait J 515 trailing
- Date Taken: 10 September 1994
- Country: Australia, State/Region: Victoria.
- Link to high resolution image: /media/photos/119433.jpg
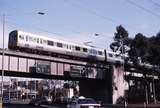
- 119434: Flemington Bridge Down Suburban 3-car Comeng 407 M leading
- Date Taken: 10 September 1994
- Country: Australia, State/Region: Victoria.
- Link to high resolution image: /media/photos/119434.jpg
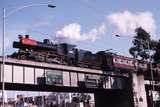
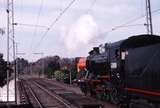
- 119435: Flemington Bridge Down Save the Upfield Line Special J 515 leading 4-car Tait
- Date Taken: 10 September 1994
- Country: Australia, State/Region: Victoria.
- Link to high resolution image: /media/photos/119435.jpg
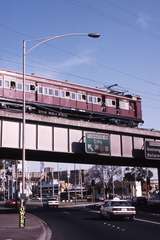
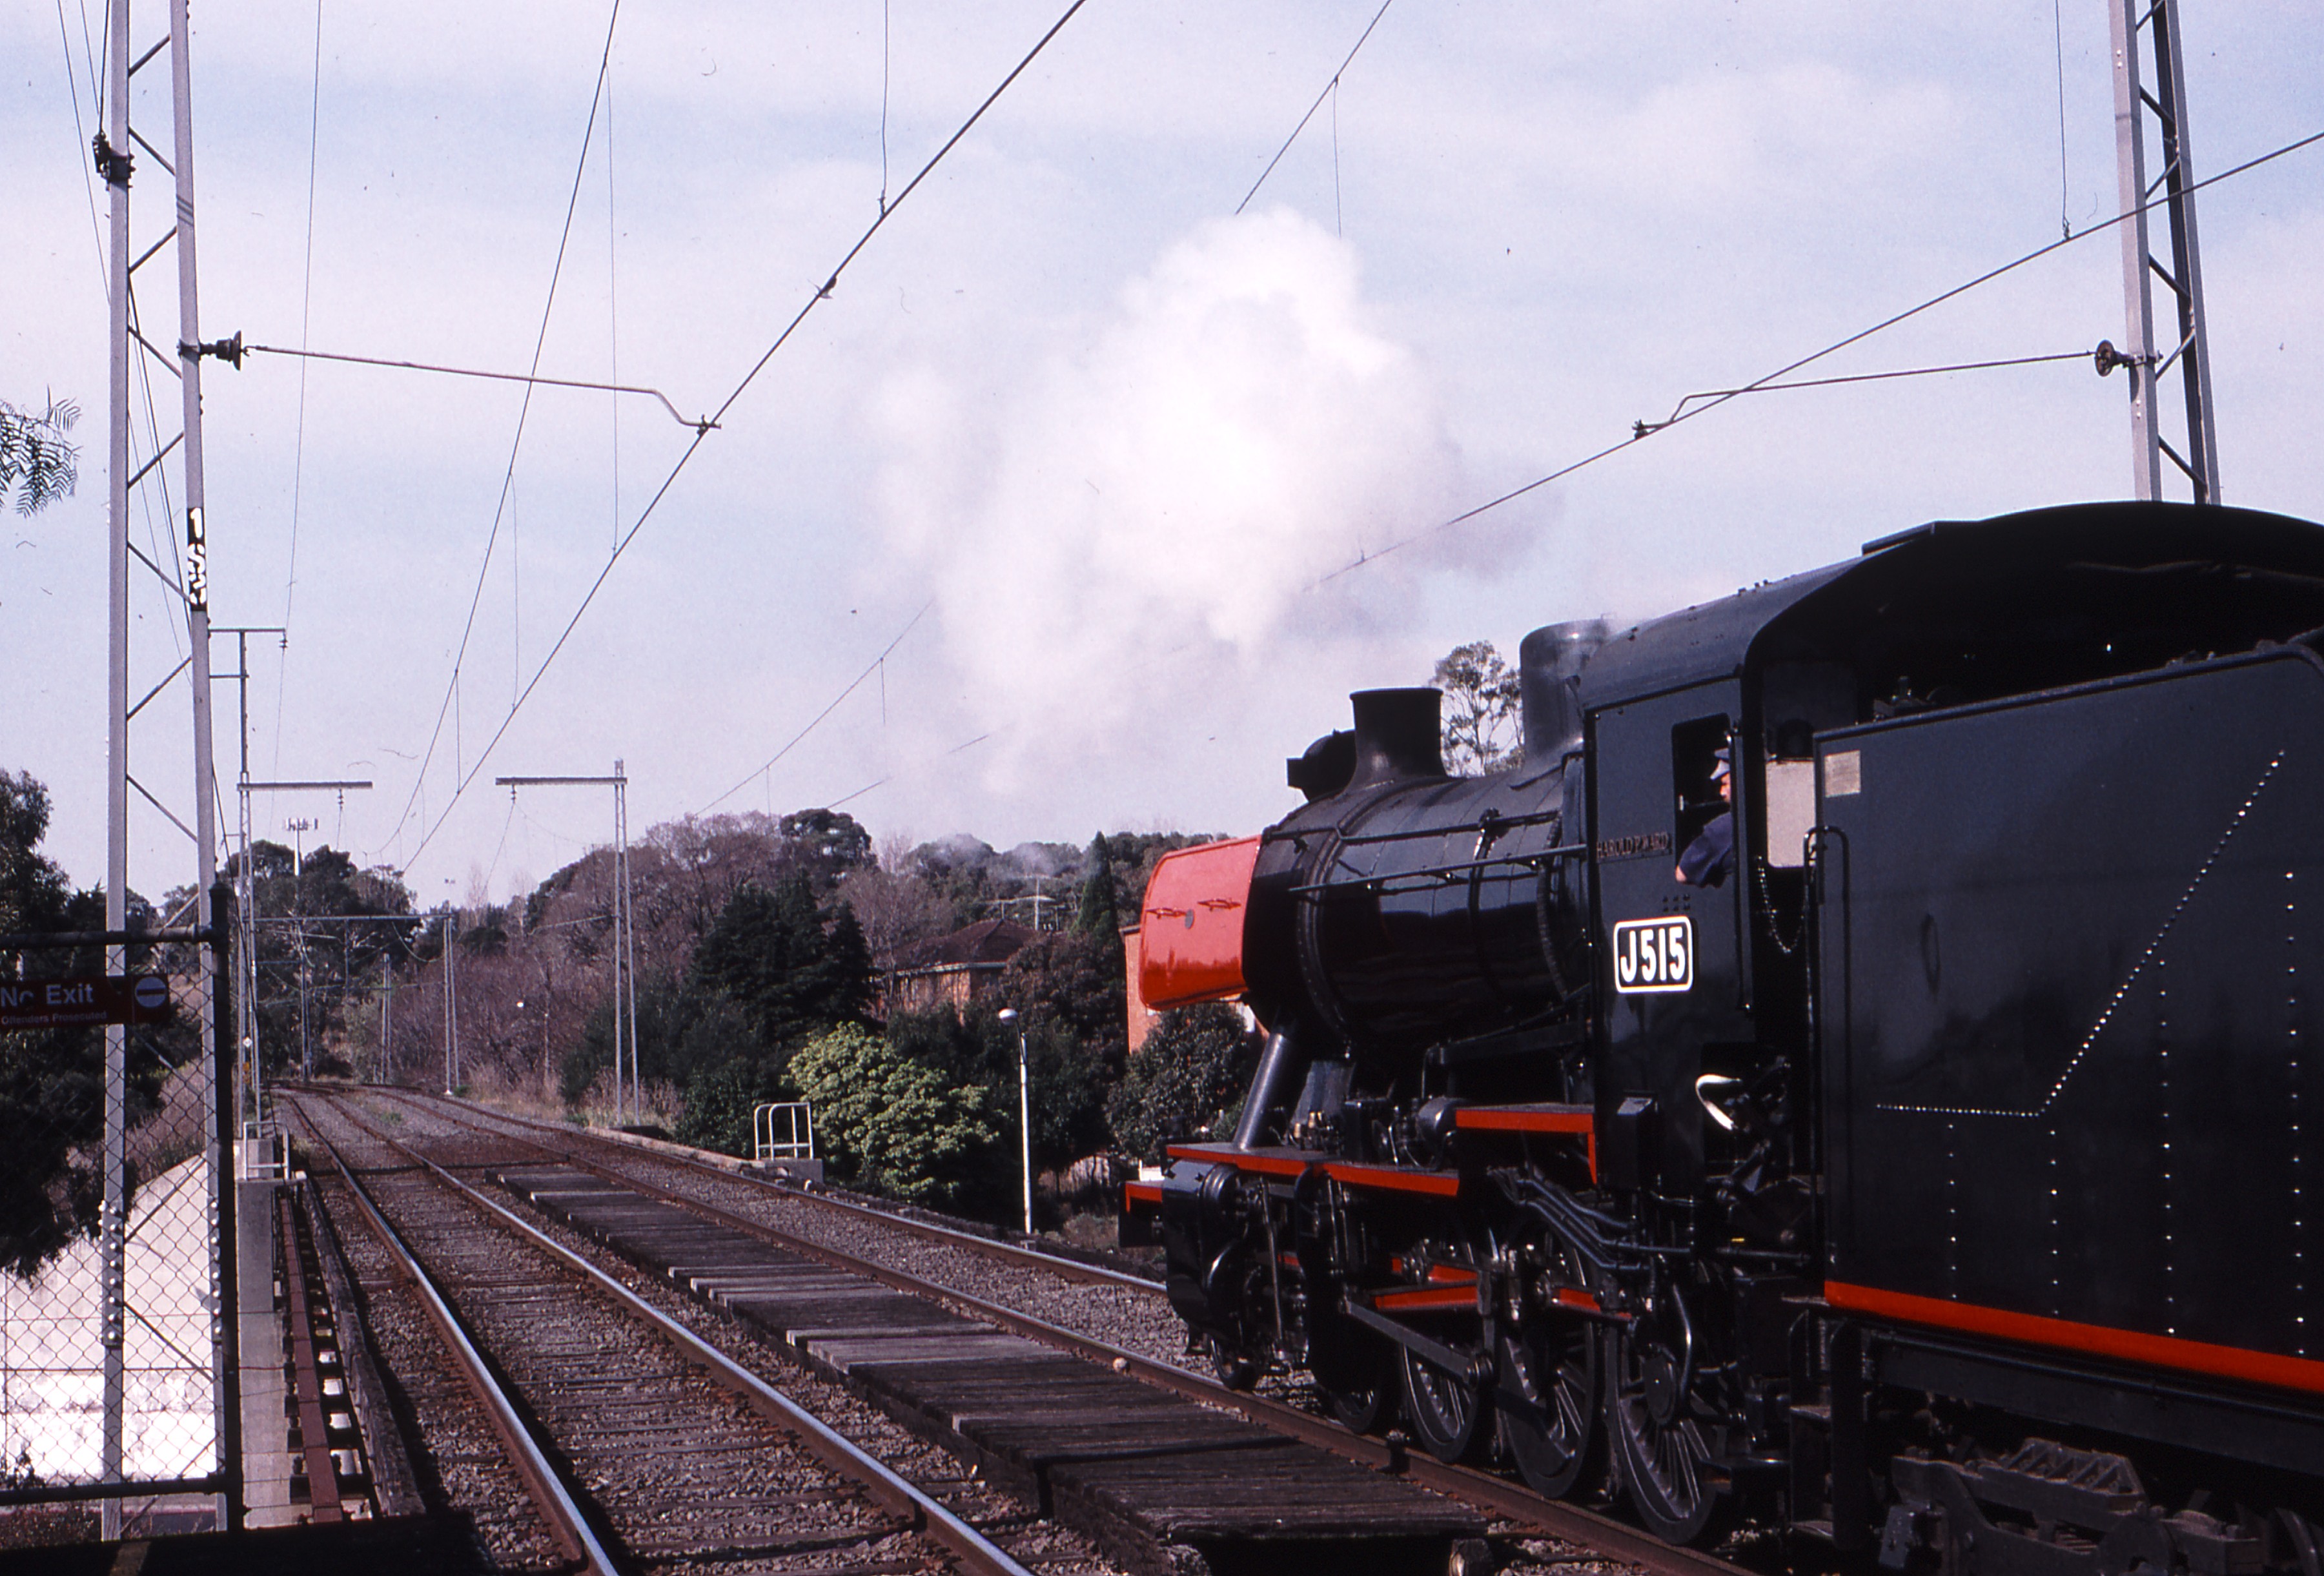
- 119436: Flemington Bridge Down Save the Upfield Line Special J 515 leading 4-car Tait 381 M trailing
- Date Taken: 10 September 1994
- Country: Australia, State/Region: Victoria.
- Link to high resolution image: /media/photos/119436.jpg